Showing posts with label billament. Show all posts

Saturday, July 15, 2023

Italian Renaissance Hair Jewellery

Yet another hair band, with pieces from two different filigree bracelets sewn onto a velvet ribbon band and backed with grosgrain ribbon to reduce slippage. I used three wig clips on the back for extra security.


Saturday, July 8, 2023

Italian Renaissance Hair Jewellery

 Another hair band this week, constructed in the same way as the previous ones. This one has necklace components sewn on to the velvet ribbon. Probably too sparkly to really be appropriate for sixteenth century, but I couldn't resist it!

This one has 2mm seed beads sewn along the edges. I recently saw a beading technique demonstrated on Instagram that might be useful for this sort or project - I will let you know how I go.


Friday, June 30, 2023

Italian Renaissance Hair Jewellery

I recently finished another billament/hair accessory. This one has been sitting around in a half-finished state for literally years because I wasn't super happy with how it looked.

The flower shaped findings came to be with a 'patina' that I wasn't delighted about, and when I made the band up, it just seemed to look a bit shabby and be lacking something. So it sat in the UFO pile for a long time.

I resolved to finish it as part of my recent UFO completion drive, and I added matte gold seed beads (4mm) on the joins between the flat findings, to disguise the stitches and give add a bit of textural variety. I then started sewing the grosgrain ribbon on the back, and added white tiny seed beads as I went. When that was complete, I added three wig clips on the back to hold it in my hair.

It is still not my favourite accessory that I have ever made, but I am pleased that it is finished. Hopefully it will look nice when worn.
 
This image (a detail of Sister Minerva from 'Portrait of the family of the artist' by Sofonisba Anguissola) shows how the band will be worn; either in front of dressed hair such as hair taping, or in front of a caul. Image fromSofonisba Anguissola Portrait of the family of the artist. Fragment. Sister minerva, 1568, 122×157 cm: Description of the artwork | Arthive

Here is the full painting:


Sunday, June 25, 2023

Italian Renaissance Hair Jewellery

I'm having a break from boring sleeve sewing and finishing up some headwear that has been sitting around for a long time.

I really like the Italian style of wearing a necklace or decorated band in the hair in front of the braid like in this portrait by Sofonisba Anguissola

Image from: Sofonisba Anguissola - Portrait of the Artist's Sisters Playing Chess - WGA00697 - The Game of Chess (Sofonisba Anguissola) - Wikipedia

Since a lot of our SCA events are outside in public places, I don't feel confident pinning jewellery to my hair, and instead have been sewing jewellery components and beads to velvet bands that are secured into the hair with wig clips.

It is fiddly work, doesn't take up much room to store, and very easy to put off for another day!

I recently finished this one, which has bracelet pieces sewn onto a velvet band and separated with gold coils. The edges have tiny gold seed beads sewn on, and the back is faced with grosgrain ribbon (which helps grip the hair). I use a central wig clip and one at each end to secure.

I got a lot of elements suitable for this type of band from shops like Lovisa, Diva and Collete pre-Covid. I don't really go shopping like I used to, but thrift stores and op shops can be a good place to pick up old bracelets that you can break down to make this style of headwear.


Wednesday, June 25, 2014

Another Jewelled Headband


Recently, I completed another jewelled billiment/headband for use with my Italian SCA clothes.
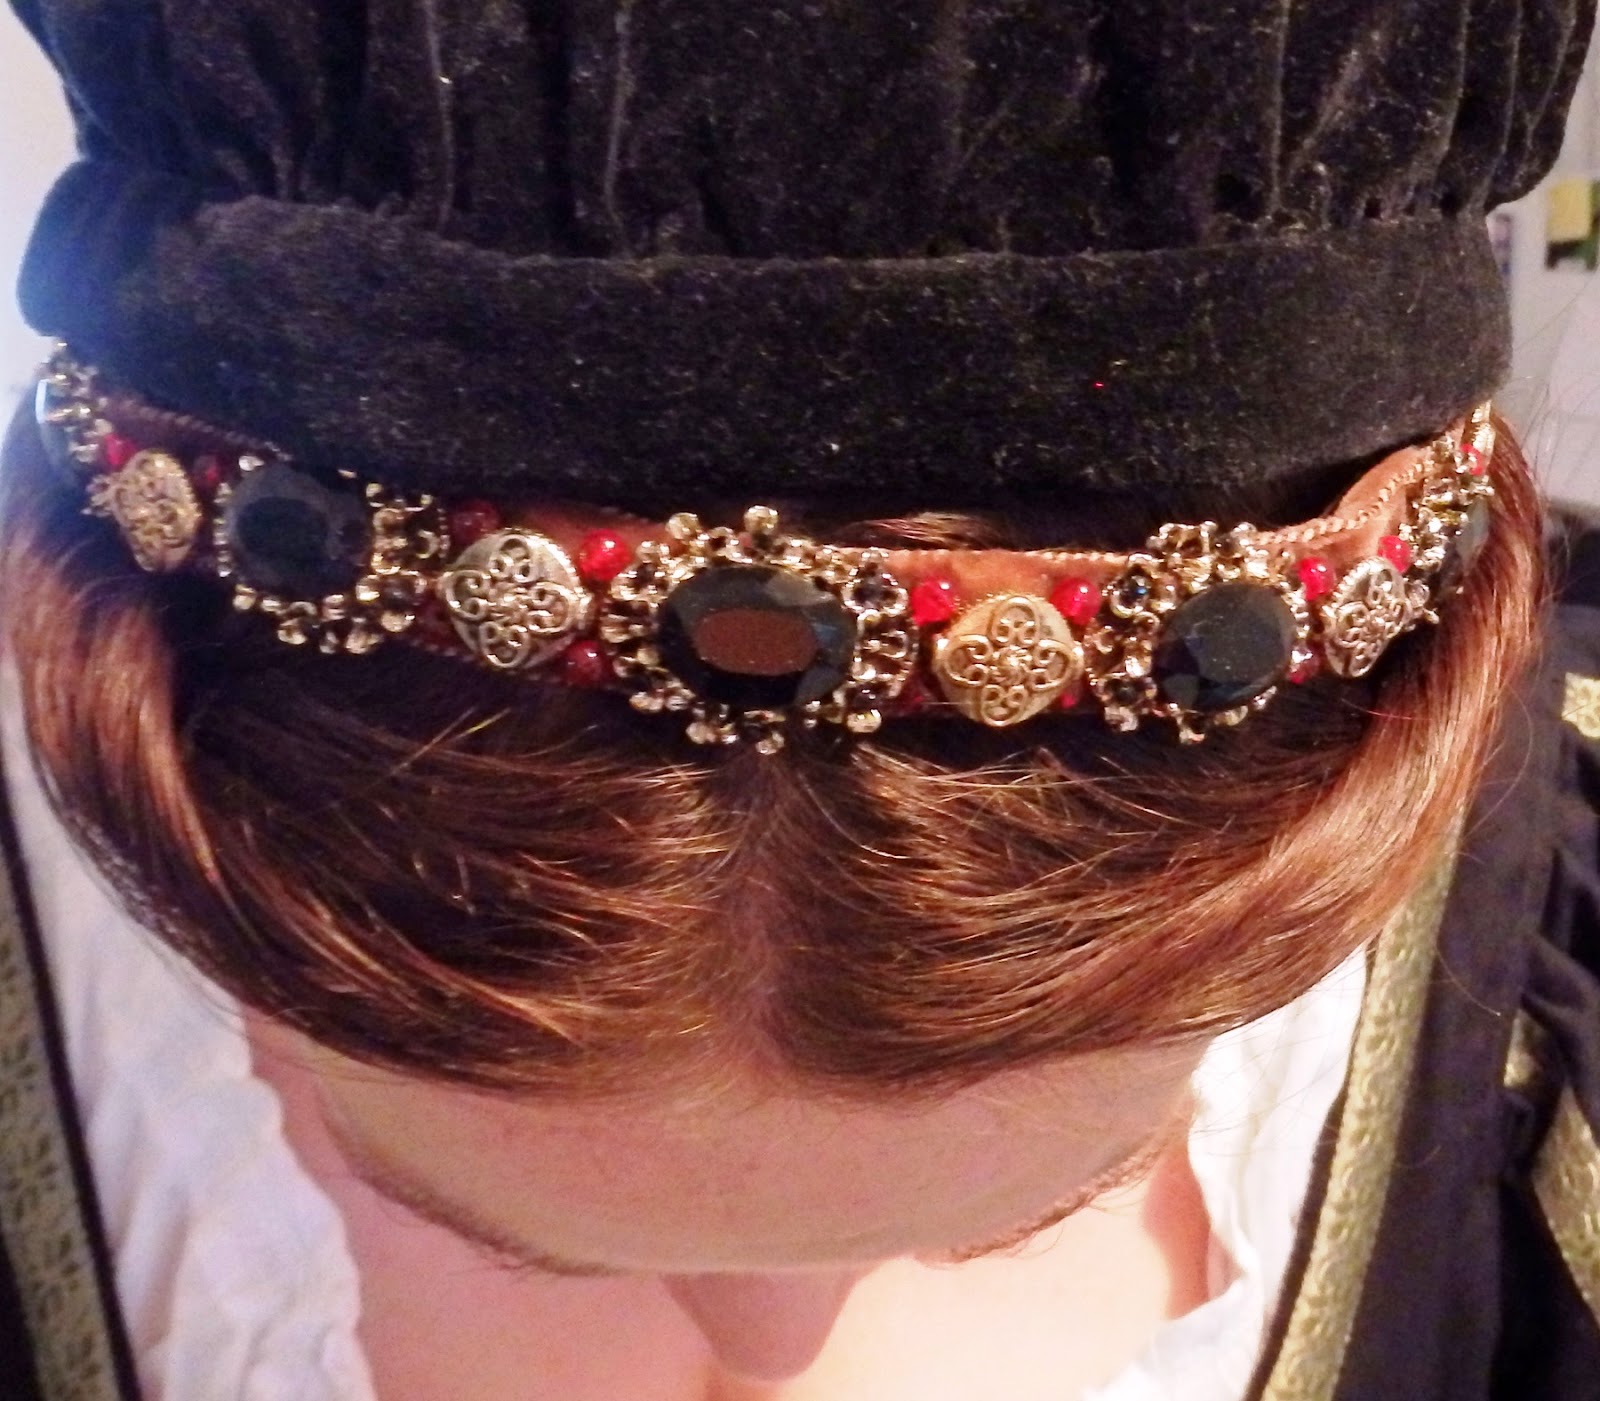
This was made in a similar way to the last one, except that I used grosgrain ribbon on the back rather than velvet ribbon. It will be interesting to see whether it holds onto the hair better. Also, I added tiny delica glass seed beads around the outside edges. These may catch in the hair, making placement and removal difficult. The 'jewels' are made from elements of a bracelet and some jewellery making findings that I got from Spotlight ornamented with glass seed beads.


Sewing the wig clip to the grosgrain ribbon before sewing the ribbon to the velvet


The finished band:


Portrait of Isotta Grumelli by Moroni
image from: http://www.gogmsite.net/the_middle_1500s_-_1550_to_/1550-1555-isotta-brembati-g.html

File:Follower of Francesco Salviati del Rossi Portrait of a Lady.jpg
Portrait of a Lady by A Follower of Francesco Salviati del Rossi
image from: http://commons.wikimedia.org/wiki/File:Follower_of_Francesco_Salviati_del_Rossi_Portrait_of_a_Lady.jpg

Thursday, May 22, 2014

Purple Velvet Caul

Cauls and similar headwear are seen a lot in sixteenth century portraiture, and appear in images from across Europe.

The black velveteen caul that I regularly wear to events is starting to get a bit worn and daggy and I decided it was time to make a new one. The only problem was that I made my old one so long ago that I couldn't remember what size circle I used for the 'bag', and I hadn't kept a pattern!


I have had this old wonky wire ring for years and use it to trace rough circle shapes, so I figured that I had probably originally used this as a pattern. I traced the circle and then added 1.5 cm seam allowance all around just to be safe.

I had some Christmas-type gilt decorative ribbon for decoration. I thought this pattern would work well. The next step was to pin it all into place and hand sew down. I sewed down each edge for durability.

The caul after sewing down the gilt strips(above). It is a bit wonky as I was on holiday and had no ruler, no sewing machine and very little equipment. I had to 'guesstimate' things and found that the gilt strips slipped around a lot. The joins of the gilt thread have a baroque freshwater pearl sewn on them.

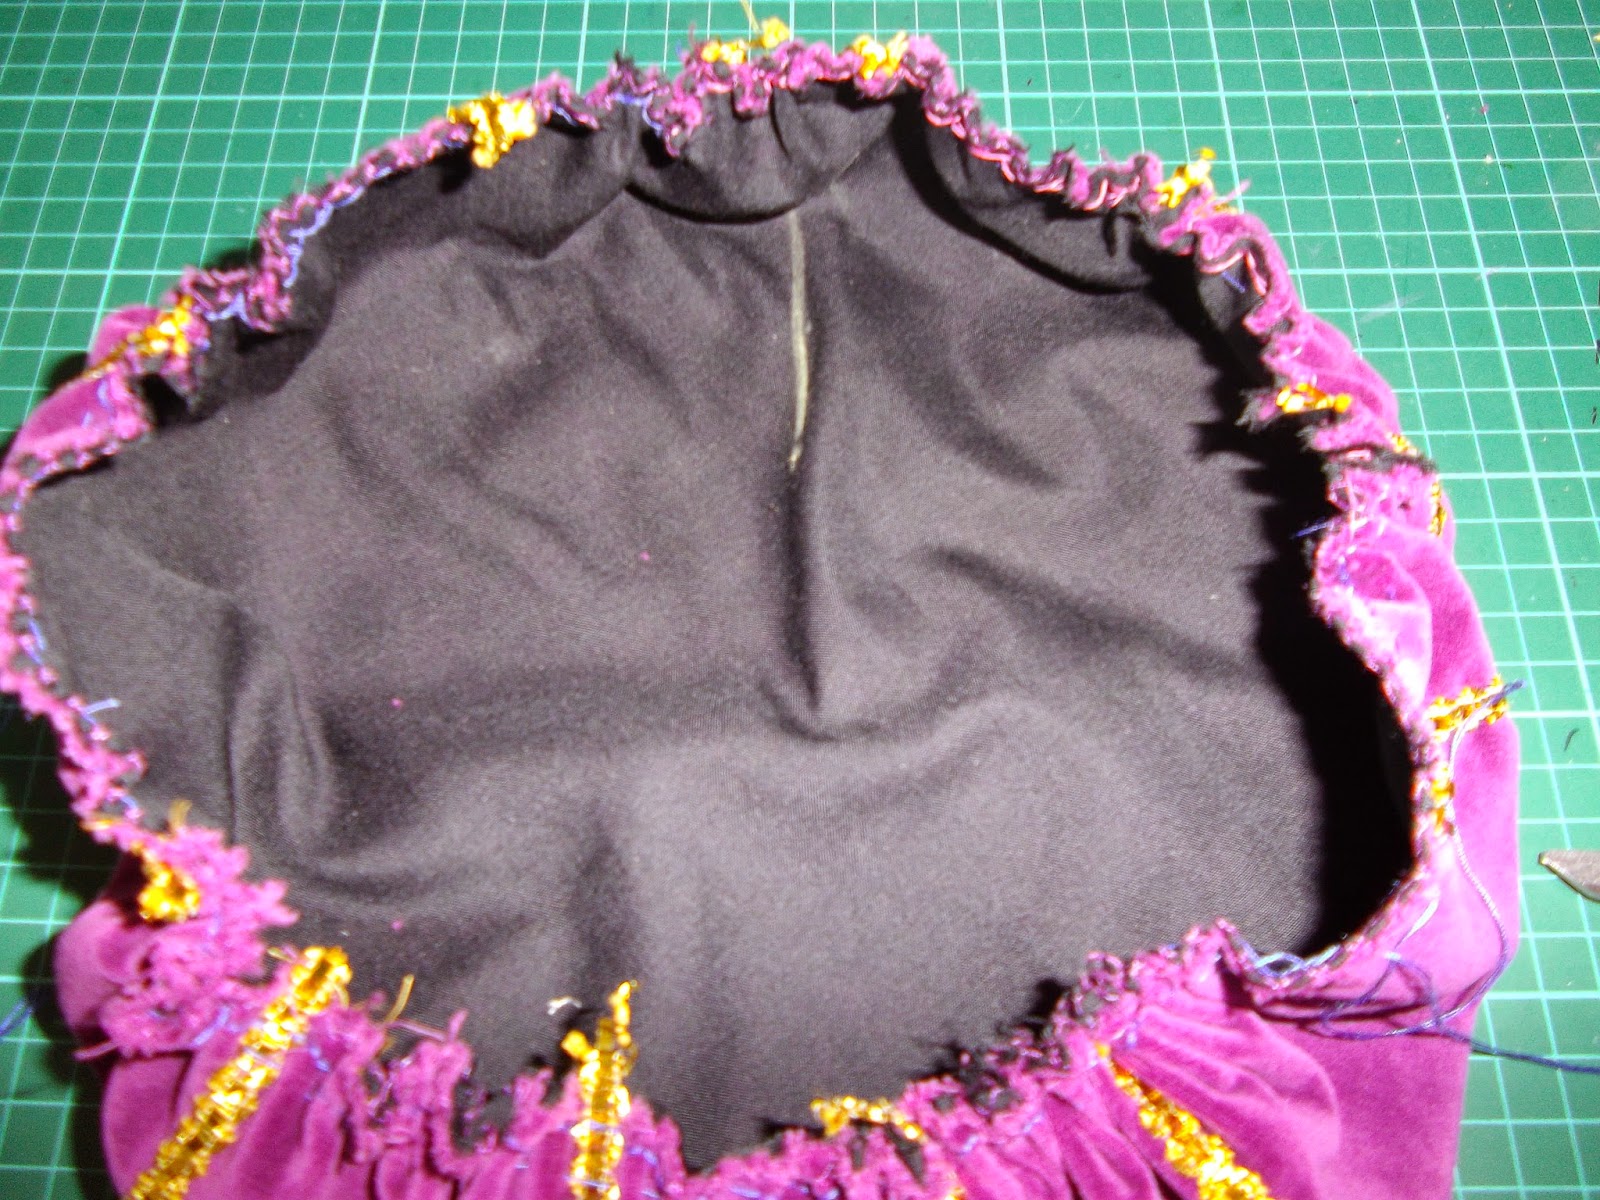
I hand-stitched the lining to the velveteen. Then I added two rows of fairly large gathering stitches around the edges. I had the long edges hanging out at the side centre. At this stage, I still didn't know if I had made the bag the correct size, and whether it would fit.


I measured my head and worked out how wide I wanted the band of the caul to be; I didn't want it to be too tight. I added 1.5 cm seam allowance and machine zigzagged the edges because the velveteen frays a lot. I hand sewed the ends together and then tacked the edges down so that they wouldn't move and slip and distort the shape of the band.


The band all tacked up and ready to sew. There is a faint fold mark in the middle of the band which shows where the front edge of the band will be when it is made up.

This image gives an idea of how much the fabric gathers in when the two sets of side threads are pulled. (The gathering threads are dark purple.)


Once the gathering stitches have been pulled in, I adjusted the gathers so that they were fairly evenly distributed around the hat. The yellow chalk line is the top of the hat.


Putting the tacked band into place over the edge of the 'bag' part of the caul. I tucked the edges of the bag into the fold on the band, trying to make sure that the edge of the 'bag' (the gathered part) was touching the fold in the band. It did move around quite a bit, so there are a few places where it has slipped back.


Pinning the outside of the tacked band on. I sewed the outside down first to minimise moving and slipping.

The next step was to sew down the inside of the band, but I thought the band edge looked a little plain.

I found some gilt thread in my stash and couched one line of it down around the edge of the band. I couched it down with a doubled piece of yellow sewing thread (probably cotton or poly-cotton).

Next, I turned the hat inside out, and pinned the inside of  the band down. Then I hand sewed the inside piece down.


The band is slightly thick. I don't mind it like that, but I may reconsider my technique for the next one. I am thinking that I may omit the lining, reduce the seam allowance, or choose a less bulky fabric for the caul and/or band.


The finished caul on a stand.

I usually sew in a metal comb to help hold the caul in place, but this time I have tried wig clips. We'll see how they go! I need a comb or a clip because I usually wear my cauls behind a jewelled billiment and twisted hairstyle (below). It doesn't sit way back on my head, but I like the security of knowing that the clips or comb will stop it coming off.


I am pleased with how this project has turned out. I feel a little gaudy in such a bright hat, but I think it is pretty, and I am very relieved that it actually fits. This time, I kept notes so that I don't have to guess the next time I go to make a new caul.