More information on the pouches can be found here: http://broiderers.lochac.sca.org/projects/mouse
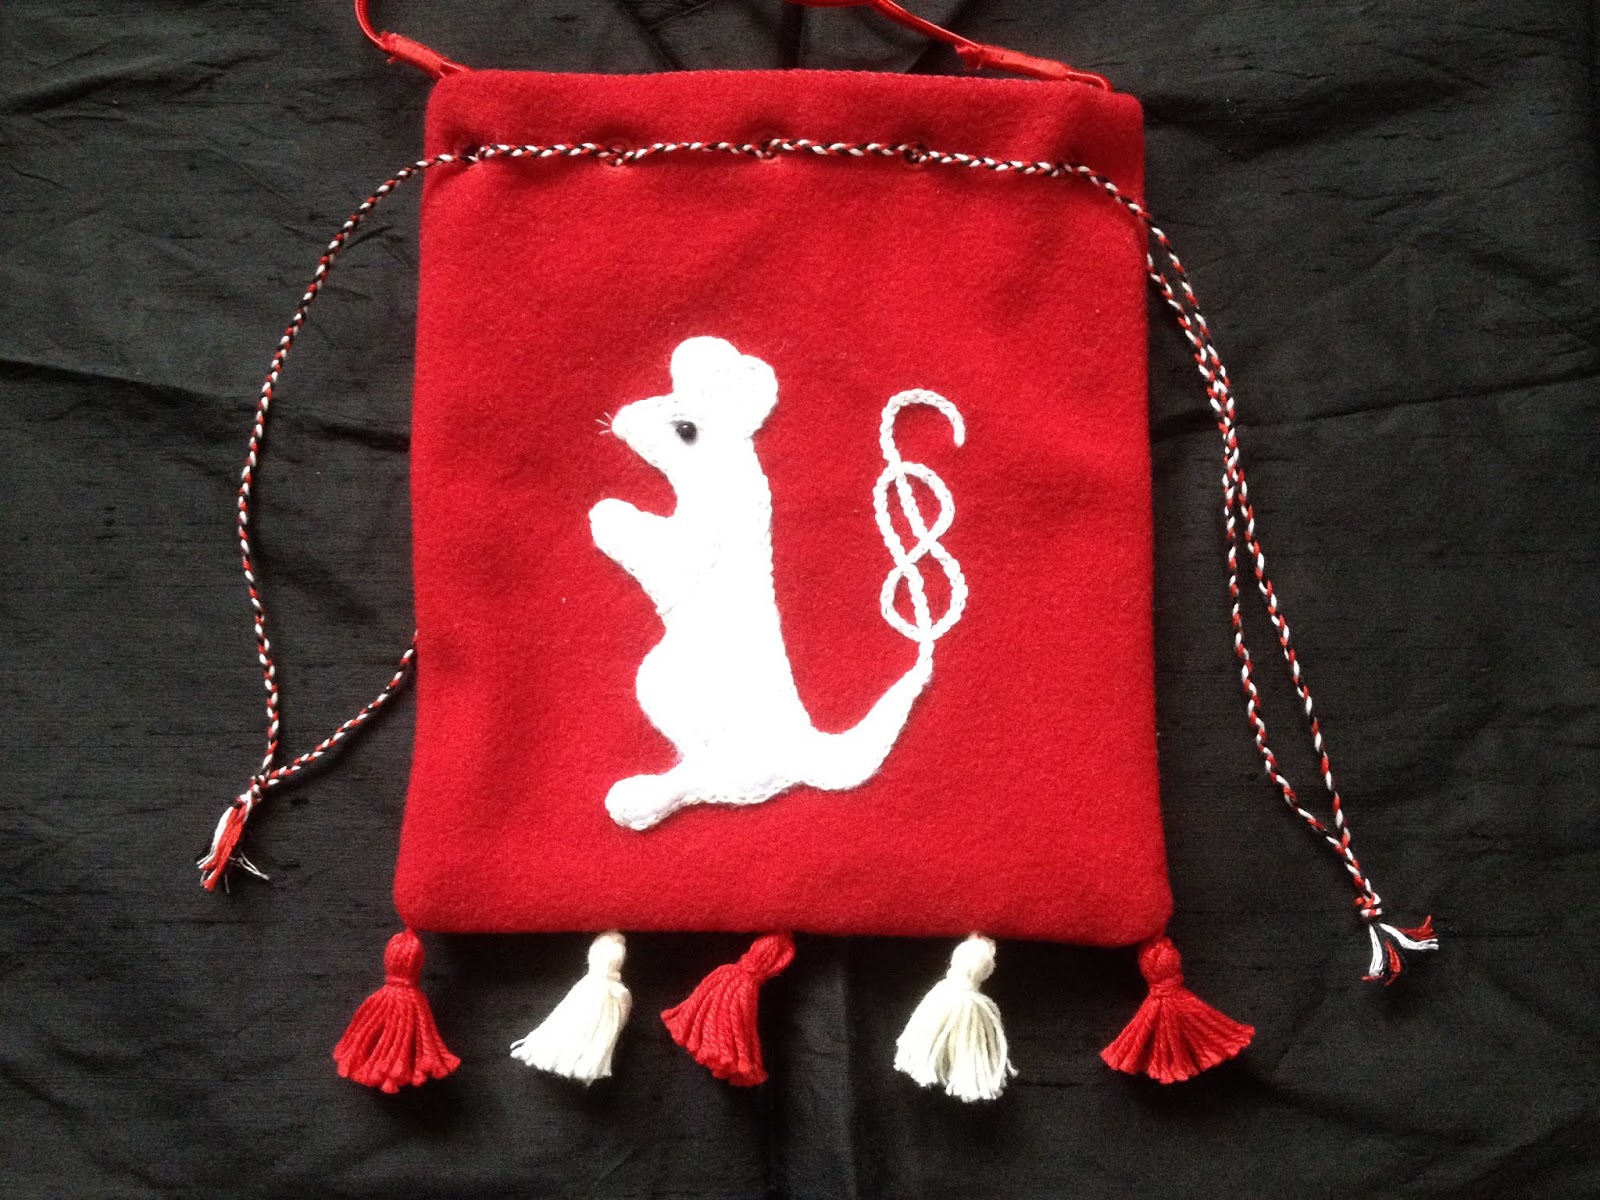
I made my pouch from red wool lined in red linen. The mouse is white wool appliqued with chain stitch embroidery over the edges and for details. The eye is a black glass bead.

Although this is a specific pouch for a specific purpose, the technique is the same for a plain pouch or one with a different design.
First, I drew up a rectangle of the required size. I wanted it big enough to get your hand in, but not so big it would swamp a child. I cut my fabric with a fold at the bottom rather than a seam to reduce bulk. I then cut out the lining in the same way but took a couple of millimetres off the side edges because we want the lining to slide inside.
Next I appliqued and embroidered the design in the centre of the top half of the outer rectangle. You want your design to be nice and central, but allow a bit of extra room at the top for the fabric to be folded over and eyelets to be worked.
When I was happy with the design, I sewed the two side seams up and did the same on the lining, using the same seam allowance on both. I like to trim the bottom corner edges off so that the points come out nice and sharp when I turn the fabric right side out. Once the outer bag is right side out, I added some little tassels along the bottom of the bag.
One both pieces are sewn and the outer piece is right side out, I slid the linen lining piece inside. The goal is to have all the seams hidden inside the bag. I fold the top of the lining and outer pieces down and whip them together at the top edge so that two pieces are sealed.
The next step is to make the eyelets. I find this to be quite hard on my hands, so I usually don't do them all in one hit. I like five eyelets on each side for this size pouch. I mark the position that I want them to be with a removable pen and then make a hole with an awl. Next I go around the edge of the hole with a double running or back stitch, leaving a couple of millimetres space between the edge of the hole and the stitching. When that is done, I use a satin stitch to bind the edges of the hole.


No comments:
Post a Comment