Showing posts with label marzipan. Show all posts

Wednesday, October 23, 2019

Gilded Marzipan Fruits at a Pirate Tourney

I went to a pirate-themed tourney recently, and (as usual,) took plenty of food to share with my friends. Something that always has a big visual impact is marzipan fruits. They are so pretty, and adding edible gold leaf just adds that extra bit of richness.
Violas are in flower at the moment, and I wanted to candy some to add to the dish. I have concerns about using raw eggs in my cooking, so I attempted to candy them in sugar syrup. I made up a simple sugar syrup (with a high concentration of sugar and a splash of rosewater,) and soaked the washed flowers in it. Then I coated them in caster sugar. Once coated, I left them in a dish covered with sugar and with a few cloves for a couple of days to add a delicious scent. They didn't work out as nicely as when done with egg white, but I feel that was made up for by not having to worry about possible salmonella contamination. I will keep experimenting.

Tuesday, July 16, 2019

Gallery of Soltelties and Confectionery

Here is a gallery of some of the confectionery and soltelties that I have made over the years. Most of these were made from 2001 to 2013. I don't seem to find the time to do sugarcraft as often as I used to.

Marzipan and sugar plate

Sugar plate

Marzipan

Sugar plate for a Mongolian feast

Marzipan and sugar plate

Fruit fool in a sugar plate casing (for a Fool's Feast)

Sugar plate cat with marzipan fish inside

Marzipan fruits with embroidered sweete bag

A "silly bub" in syllabub

Sugar plate

Sugar plate

Sugar plate

Sugar plate

Sugar plate

Sugar plate skulls and marzipan bones

Hedgehogs

Marzipan fruits

A Yule log made of ''Figye" with a marzipan covering

Marzipan fruits (Pastry horn made by Mistress Leofwynn)

Christmas rose sugarplate

Golden apple (marzipan)

Painted gyngerbrede

A sugarplate dragon on his hoard of sweet delights

More marzipan fruits
A siren (pigeon and marzipan) on a 'sea' of jelly
A Marzipan Flower (11/18)

Wednesday, June 20, 2018

A Gilded Piggy (hopefully!) fit for a King

I was recently honoured to attend a Royal Event to watch the elevation of a friend to the Order of the Laurel. As part of the festivities, I created a marzipan pig gilded in 23k gold and surrounded with marzipan fruits.

I've been quite unwell in the last couple of weeks leading up to the event, so I used commercially produced marzipan rather than making my own from scratch. The gold was food grade edible gilt, which comes in sheets and is challenging to work with.

Piggy started off looking reasonably realistic:
This ear was too big and started to bend, so I made the ears smaller


Castor sugar is under the head to prevent the marzipan from sticking to the platter. Water with a small amount of rosewater added is used as a bonding agent to encourage the pieces to stick together. (Don't use too much or you will get a slimy mess that won't hold shapes and will crack when drying.)

The images I used for inspiration:


Monday, December 1, 2014

Marzipan Fruits

I made some marzipan fruits for a friend this week. They are fun to make; a bit like playing with Play-Doh when you were a kid. Just shape them with your fingers. I have several handy little tools to create details, but a toothpick can be used if you don't have fancy tools. Use the side to put the ridges in the leaves, and break off the sharp point to make a blunt probe to put the indents in the strawberries (for the 'seeds'). Use food colouring to paint the fruits. I have special brushes that are only kept in the kitchen, so that they are never mixed up with my illumination brushes- I don't want to accidentally poison my friends!

I use a clove for the oranges and peaches. Cloves were often used in the Renaissance as breath fresheners. Flick off the little bud at the end and snap the stem in half. Use the top half as the stalk of the fruit, and the little cross shaped piece on the bottom. Warn the recipient- not everyone likes cloves!

The unpainted fruits drying off a little bit


Partially painted fruits waiting for details and leaves to be added

Painted fruits drying in castor sugar


Finished fruits ready to eat


Monday, July 16, 2012

Sugarplate Hellebore Subtletie

For our recent Midwinter Coronation, I was asked to make a subtletie with a hellbore (Christmas rose)  theme.

Hellebores image from  serenityinthegarden.blogspot.com

I decided to make the flowers and leaves out of sugarplate and the base and supplementary leaves out of marzipan.

I used a bowl to make a base of silver foil which I covered with tinted marzipan to create a 'knoll'.


The plate I used as a mould


The foil base for the knoll

I tinted some marzipan green and rolled it to lay over the foil base. I added extra marzipan leaves to cover the sides.


The marzipan knoll drying
I made the flowers and main leaves out of sugarplate. There are many period recipes available in books on the internet; I avoid ones which contain egg white because the sugarplate is not cooked. I use a mix of superfine sugar, lemon juice, gum dragon or gum tragacanth and rosewater. It tastes a lot like Easter egg candy.

I originally moulded my leaves and flowers by hand, but they were very irregular so I changed to a cutter.


Some leaves and flowers drying flat on a plate


I let some of the leaves and flowers dry in an egg carton to give them a more natural shape


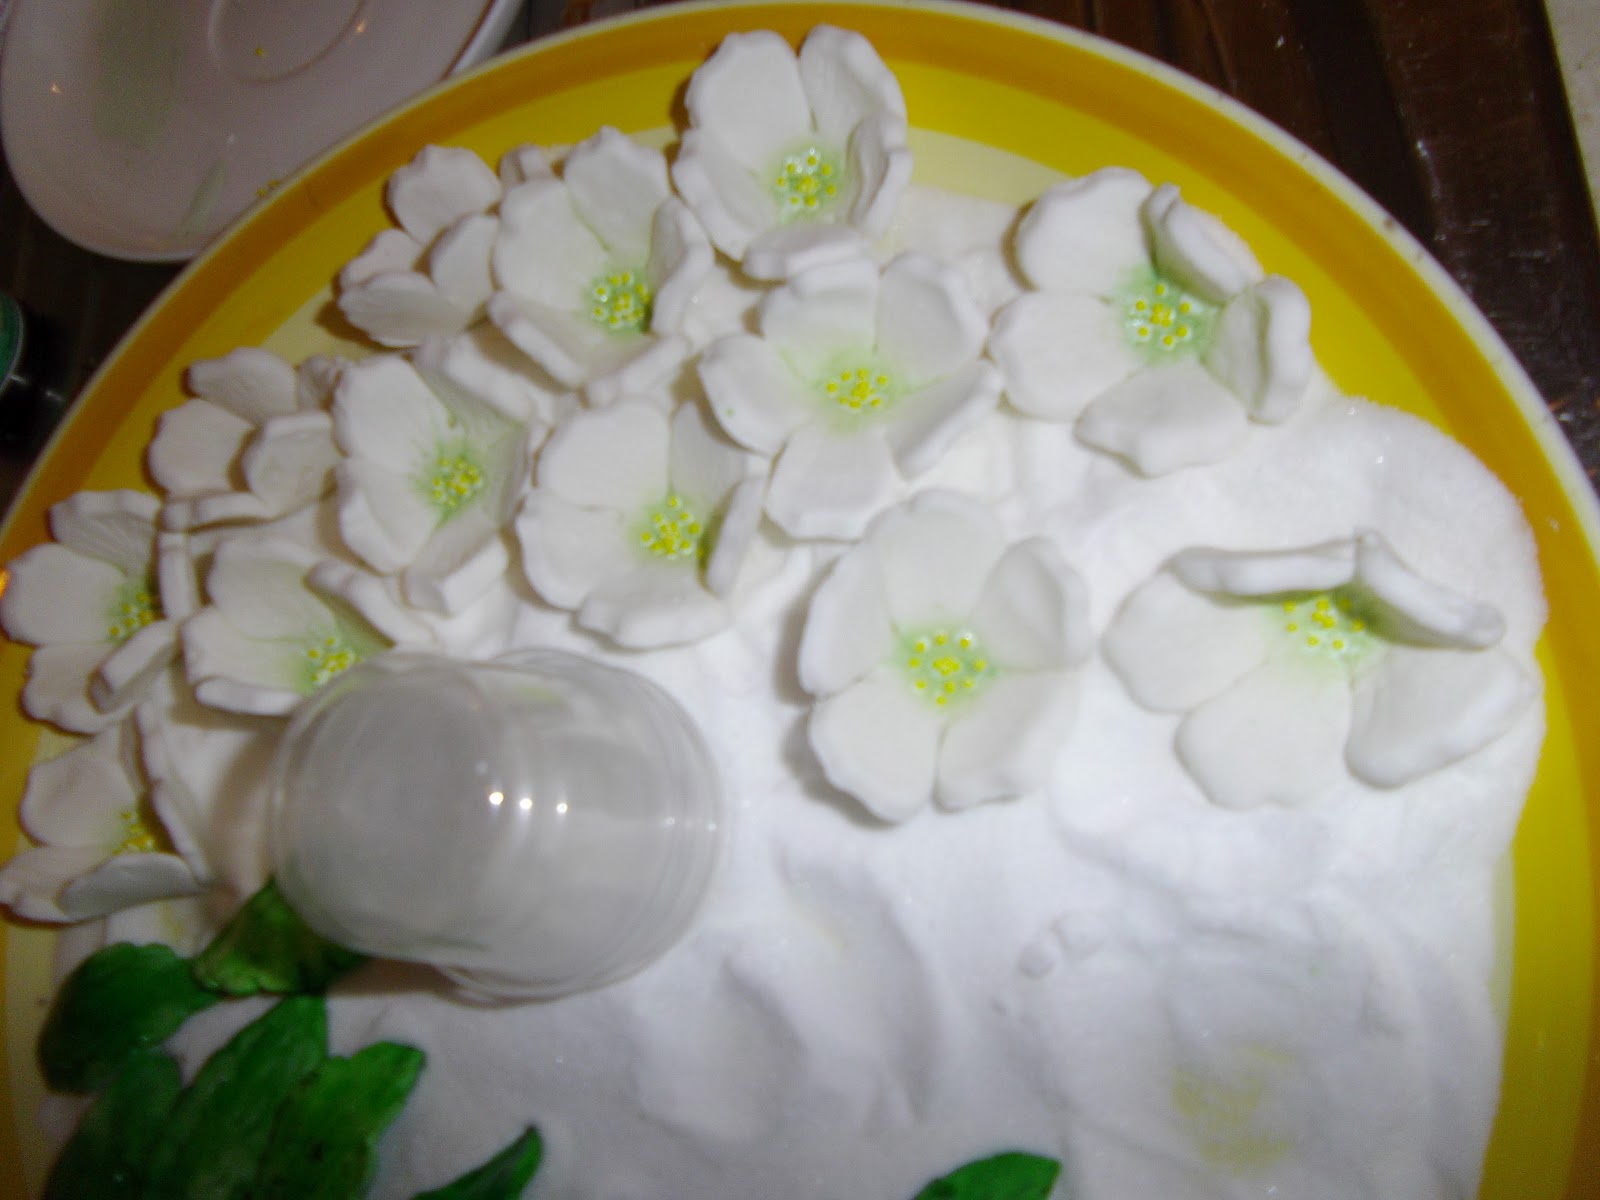
I used green lustre dust to tint the inside of the flowers. In period, parsley juice was used as a green colouring agent, but it does not taste very nice, so I used a commercial colour.


Flowers drying on a bed of sugar


Next, I 'glued' yellow non-pareils one by one to the centre of the flowers. I used white icing as 'glue' and applied them individually with a toothpick.


I was really delighted with how they turned out. 

I left them to dry. A couple of days later, I noticed that the icing 'glue' had 'melted' the lustre dust and the yellow on the non-pareils. I was VERY disappointed.

The 'melted' flowers

Non-pareils drying - minus the lustre dust.

I had to do some cosmetic repairs with new non-pareils and lustre dust to make the flowers look better. Then I began the tricky process of putting the subtletie together.


The dry base ready for flowers


The first flowers are placed


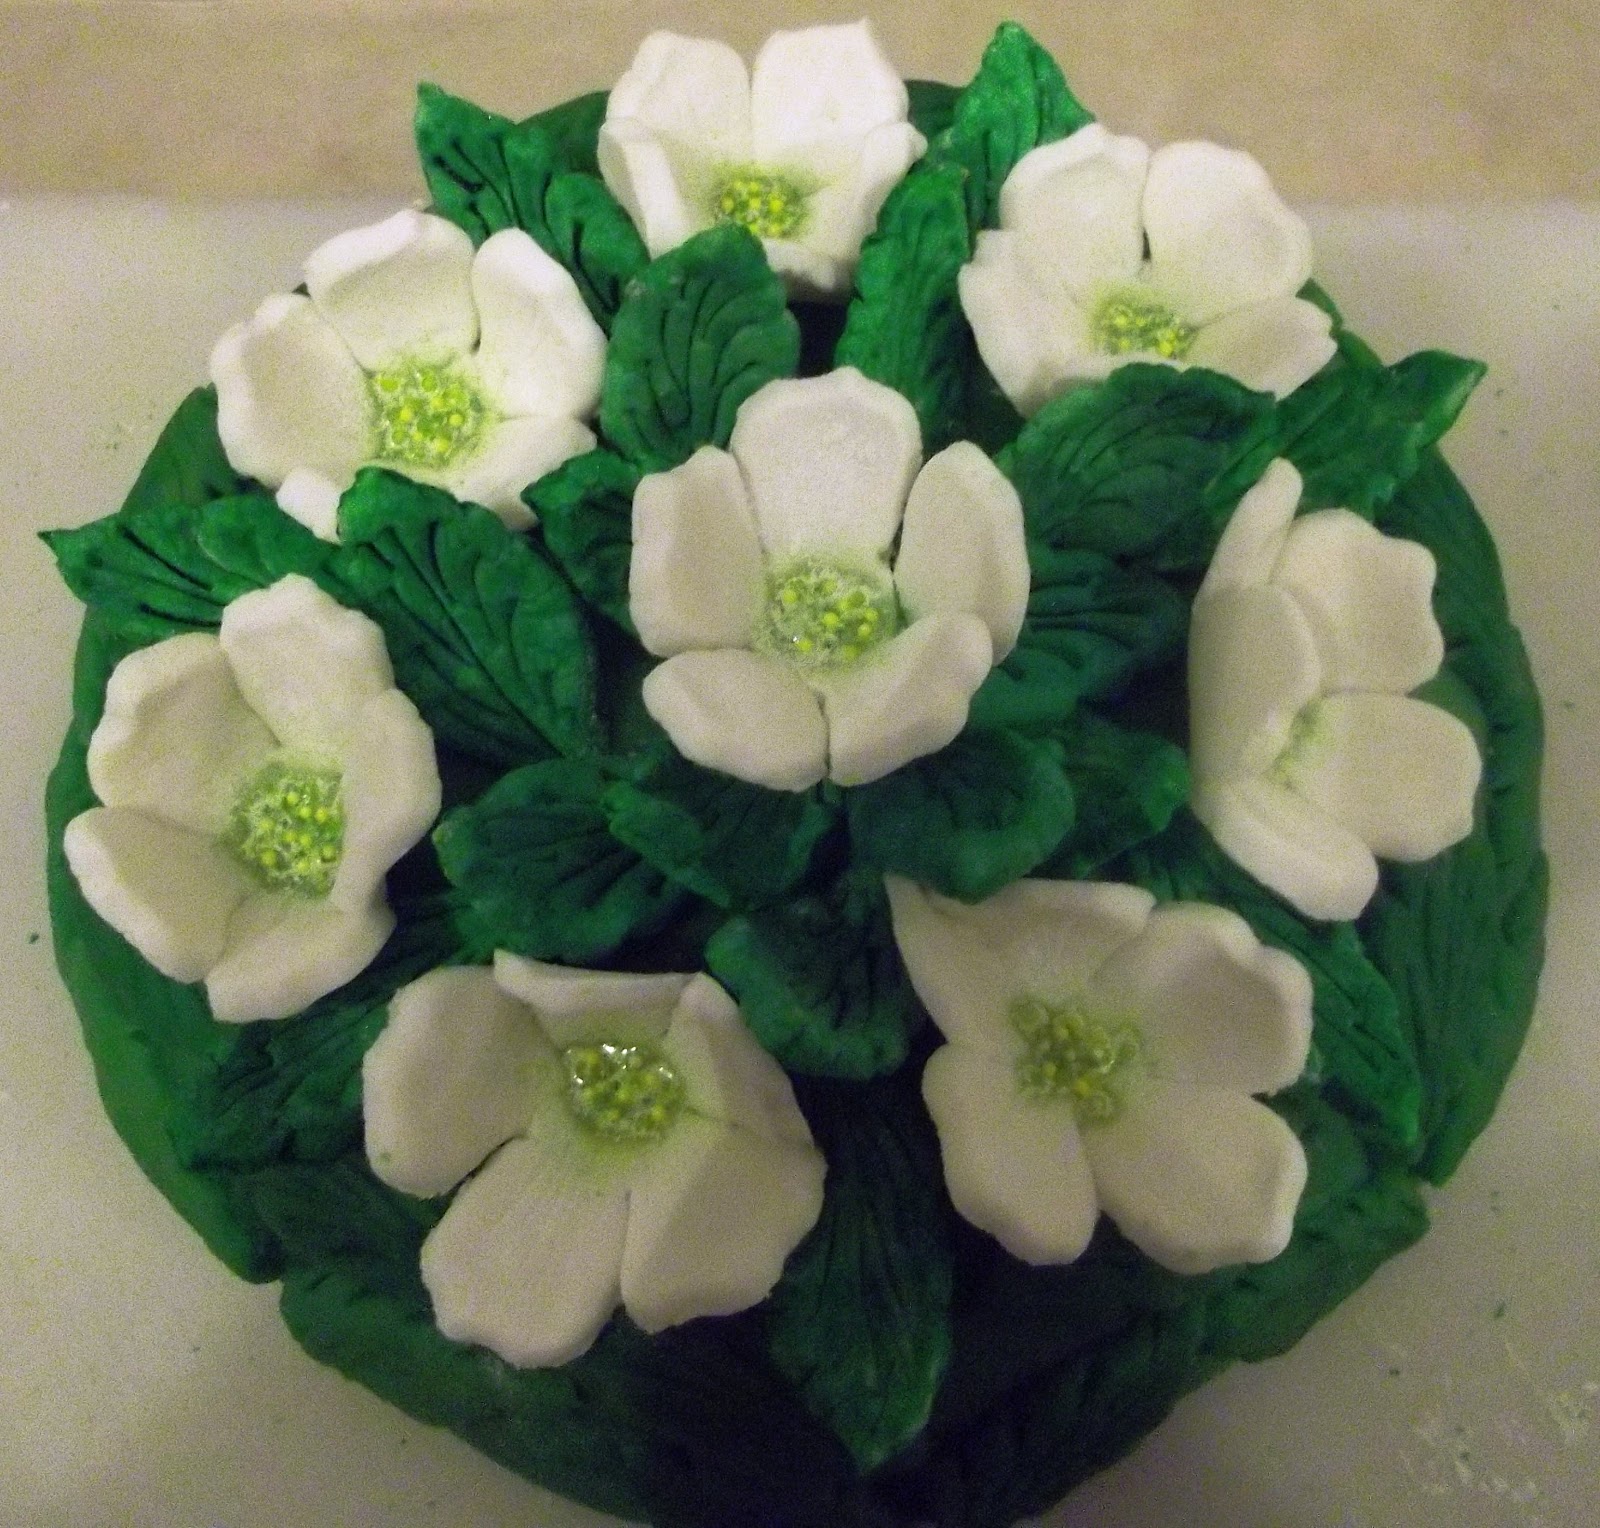
The flowers and leaves are arranged and glued


The subtletie drying

The subtletie had to be covered and transported to the event site. I was worried about damage in transit because the site was up in hills and the subtletie had to survive very winding roads. It made it to the event safely, although a few non-pareils did fall off in transit and one flower cracked.


The completed subtletie ready to be presented to High Table.