Today I spent my time setting cartridge pleats. I made bigger pleats than normal, setting them at about 1cm apart. (Sometimes I do 0.5cm.) I cheated and drew the pleats up with a single thread of crochet cotton because I wanted the job to go faster. The 'proper' way to do it is to use 2 parallel rows of very strong cord/thread, and draw your pleats up. The big risk with the single crochet cotton is that it will shred and break and you will have to start all over again. Luckily, that didn't happen to me today.
Chalking out the 1cm markings
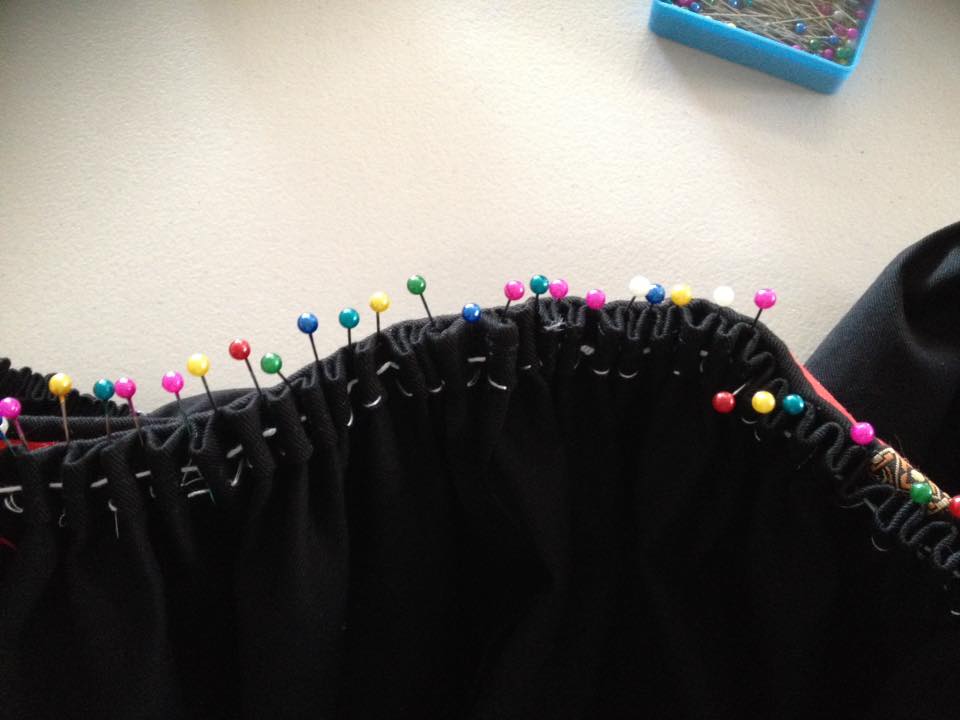
Adding the crochet cotton 'draw thread' (the smaller white thread is a tacking stitch to secure the top hem of the skirt panel during pleating and not related to the cartridge pleating process.)
Pleats ready for adjustment
The skirt panel ready to sew to the bodice. I divide my skirt into quarters and divide my bodice into quarters. Then I tack the points together and adjust the pleats evenly in each quarter section. It makes the job much easier and results in nice even pleat adjustment.