Season's Greetings! May you have a peaceful and healthy 2024 and may all your projects go smoothly.

Season's Greetings! May you have a peaceful and healthy 2024 and may all your projects go smoothly.
The first official layer - Accessories - of my entry into the River Haven Clothing Challenge is complete.

I used my existing sleeve pattern and cut the blue fabric and cotton lining. I machine zig zag stitched the edges and then sewed up the seam that runs down the back of the arm on both the blue fashion fabric and the lining. I stab stitched the arm back sleeve open on lining and fashion layers.


If you have been following me for any length of time, you would know that I love Renaissance accessories, and I love the flexibility that tie-on sleeves provide. It won't come as a shock that I have been working on the 'Accessories' layer of the River Haven Clothing Challenge.
I'd love to do all accessories, but my plan is to start with two pairs of detachable sleeves.


.JPG)

.JPG)


Sorry about the delayed posting; a hard-to-kill chest infection and corresponding brain fog are making everything that much harder lately.
I have decided to enter the SCA River Haven Clothing Challenge. Here is some information about it-
"Ogres are like onions -they have layers.
And so does this clothing challenge.
THE BASICS:
From 1st October 2023 to 31 March 2024 River Haven will be running a clothing challenge.
The main focus of it is to encourage garb making within members of the group, but there will be prizes. How good will depend on Sponsors (more on that later).
Based loosely on the Calontir Clothing challenge and the IRCC, the challenge is to make an outfit of at least three layers during this time. It can be from any time/place that SCA covers.
Prior to the challenge you can research, source patterns, do mock ups, make toiles, source your fabric and other necessities, but fabric for the outfit itself is not to be cut until 1st October. This is also the date to nominate and put in your plan (late nominations/plans will be accepted, but end date for making the outfit is final.)
There will be check in points on 1 December, 1 February, and 1 April (final date). One layer is to be submitted at each of these. More on processes to come.
There will be three divisions. Beginner, Intermediate, and Advanced. Please look honestly at which category most suits your skills and nominate for that one. The three categories will be judged separately."
I am not entering for prizes, more for accountability. I need new garb, but don't enjoy the process so hopefully this will help to motivate me.
I had to start late because I had other deadlines that must take priority, so I am already quite behind.
'Is this wise?' I hear you say. Probably not. :-)
'Is it sensible to take on another project when you are drowning in unfinished projects and battling health issues/starting a new round of appointments with a new specialist?' Also No.


I thought you might like to see how the embroidered owl tabbard looked when it was completed. Sir Eva did a lovely job of cutting out and couching down all the slips, as well as drafting and putting the garment together and adding the couched dividers on the shoulders.


I recently made a necklace inspired by late period Elizabethan portraiture.

This piece is made of agate and glass beads and is inspired by the necklace worn in this portrait of Robert Dudley, 1st Earl of Leicester c. 1560 (Portrait attributed to Steven van der Meulen [active: 1543 - 1563/4] and held in the Wallace Collection).

Something I have been concentrating on for the last couple of weeks is making up a new A&S tablecloth for the Barony.
The old A&S tablecloth that I made some time in the 2000s is really showing it's age, and we had some blue tablecloths in storage that were not being used. Someone suggested that they be turned into A&S tablecloths which sounded like a great idea.
I machine-sewed on some white bias binding around the edges of the tablecloth and marked out the candle-in-arch A&S design with a template. I made up some fabric paints using acrylic and textile medium and started to paint. I thought a couple of coats would do it, but each motif ended up needing seven or eight coats because of the composition of the fabric and the way that it soaked up the paint.


I recently had a chance to help a friend with a project for an upcoming ceremony. The project involved split stitching on velvet, which I had never done before.
The texture and pile of the fabric made stitching very different to stitching on cotton or linen, and it took some adjusting to.
If you are planning an embroidery project on velvet fabric, I would recommend allowing a bit of extra time.

I recently had the opportunity to present my embroidery challenge piece and it was well received. I thrifted a linen napkin with (what looks like) crochet edging, and used running stitch in silk to embroider a heraldic sea horse. I also added a running stitch around the edge of the napkin.
The theme of the challenge was 'Animals and/or heraldic". I originally planned to do a more elaborately embroidered partlet for the challenge, but this last year has been hectic, so that plan did not come together.

The beading bug has obviously bitten me, because this week I did another beading project.
I got some lovely pearls and a pewter pendant from Mistress Kiriel, and this week strung them up on tiger tail wire with some glass rainbow beads. I used a simple ring and bar closure, which is really helpful if you have issues with your hands and wrists.
A very simple, fast and satisfying project!

Being a keen embroiderer, I try to run a local embroidery challenge every year or so. The themes vary, but the idea is to provide some motivation to create a new embroidery piece and arrange a forum to display the pieces created. Any skill level is welcomed, and the Challenge hopefully encourages people to participate without any of the pressures of a formal competition.
A lot happened in my local SCA group last year, including one of our members winning Crown, and so people were very busy with other things. The Embroidery Challenge extended into 2023 as a result, and people will finally have a chance to display their work this month.
I made some small beaded tokens to give to participants as a memento of this year's Challenge. (2022 because the Challenge started last year.)


I have a lot of projects on the go at the moment, but I did spend a couple of hours recently making some bags to store some banners for my group. It was a very simple project, but one which really rekindled my enjoyment of crafting because I decided to use potato stamps to put the banner numbers on the bags.
I hadn't used a potato stamp since I was a child (and my skills have not improved since then!) but I really enjoyed it. The results were not great, but boy I had fun with it.
I must try and get some woodblock stamps in future, and learn about fabric stamping.


Sleeves again this week, and boy! am I happy with these! So rich and soft - I love them. I got the velveteen before the quality of cotton velveteen being offered by my local Spotlight dropped, and the fabric is lush.

These were created in the same way as previous iterations: the pattern is my roomy, self-drafted pattern that is super comfortable and very wearable. The centre back seam of velveteen and stash fabric lining was machine sewn and hand felled. Then the pieces were put together, wrong way around, and machine sewn. The arc at the top of the sleeve was clipped, and then the sleeve turned right way out ("bagged out"). I generally choose to do a small whip stitch around the top of the sleeve to stop the lining rolling out with wear, and I did that with these. I usually embroider an 'L' on the left sleeve lining before hemming also, just to help with speedier dressing on those days when I am in a rush or brain foggy.
I hemmed the outer sleeve first, anchoring it with small stab stitches. Then I hemmed the lining; turning the lining under quite a bit more so that it won't show when I move my arms.
The final step is to slog through one of my hated jobs - eyelets. I am getting faster at them, but they are very hard on my sore hands. I generally use 4 strands of waxed sewing thread, and use an awl to make a hole. I then do a double running stitch around the hole and then cover the edges with what is essentially a satin stitch.
I am super happy with this pair of sleeves; they feel so wonderful to touch.

Yet another hair band, with pieces from two different filigree bracelets sewn onto a velvet ribbon band and backed with grosgrain ribbon to reduce slippage. I used three wig clips on the back for extra security.

Another hair band this week, constructed in the same way as the previous ones. This one has necklace components sewn on to the velvet ribbon. Probably too sparkly to really be appropriate for sixteenth century, but I couldn't resist it!


I recently finished another billament/hair accessory. This one has been sitting around in a half-finished state for literally years because I wasn't super happy with how it looked.
The flower shaped findings came to be with a 'patina' that I wasn't delighted about, and when I made the band up, it just seemed to look a bit shabby and be lacking something. So it sat in the UFO pile for a long time.
I resolved to finish it as part of my recent UFO completion drive, and I added matte gold seed beads (4mm) on the joins between the flat findings, to disguise the stitches and give add a bit of textural variety. I then started sewing the grosgrain ribbon on the back, and added white tiny seed beads as I went. When that was complete, I added three wig clips on the back to hold it in my hair.


I'm having a break from boring sleeve sewing and finishing up some headwear that has been sitting around for a long time.
I really like the Italian style of wearing a necklace or decorated band in the hair in front of the braid like in this portrait by Sofonisba Anguissola

Since a lot of our SCA events are outside in public places, I don't feel confident pinning jewellery to my hair, and instead have been sewing jewellery components and beads to velvet bands that are secured into the hair with wig clips.
It is fiddly work, doesn't take up much room to store, and very easy to put off for another day!

Last year Duchess Constanzia Moralez of Lochac set a Challenge to all those interested -The May Day Challenge (a personal challenge on 'how to improve your SCA in any way by May Day, AS LVII').

Image credit: R. Vess
My Challenge was to work on that UnFinished Object pile and get some items finished. My friend won Crown during the Challenge, and so some of my energy was diverted into helping create garb for Them and Their Household, but I did manage to get some items finished before the Challenge ended.
This pair of sleeves had been languishing in the UFO pile, cut out but unsewn. I machine sewed the centre back seam on the lining and outer fabrics, and stab stitched the seams open. Then the sleeves were joined at the shoulder seam and the lining and outer parts were hemmed individually. I then whip stitched around the top of each sleeve to prevent any movement in the lining, and worked five eyelets at the top of each sleeve.

These sleeves look blue in the picture but are actually purple.
Last year Duchess Constanzia Moralez of Lochac set a Challenge to all those interested -The May Day Challenge (a personal challenge on 'how to improve your SCA in any way by May Day, AS LVII').

My Challenge was to work on that UnFinished Object pile and get some items finished. My friend won Crown during the Challenge, and so some of my energy was diverted into helping create garb for Them and Their Household, but I did manage to get some items finished before the Challenge ended.
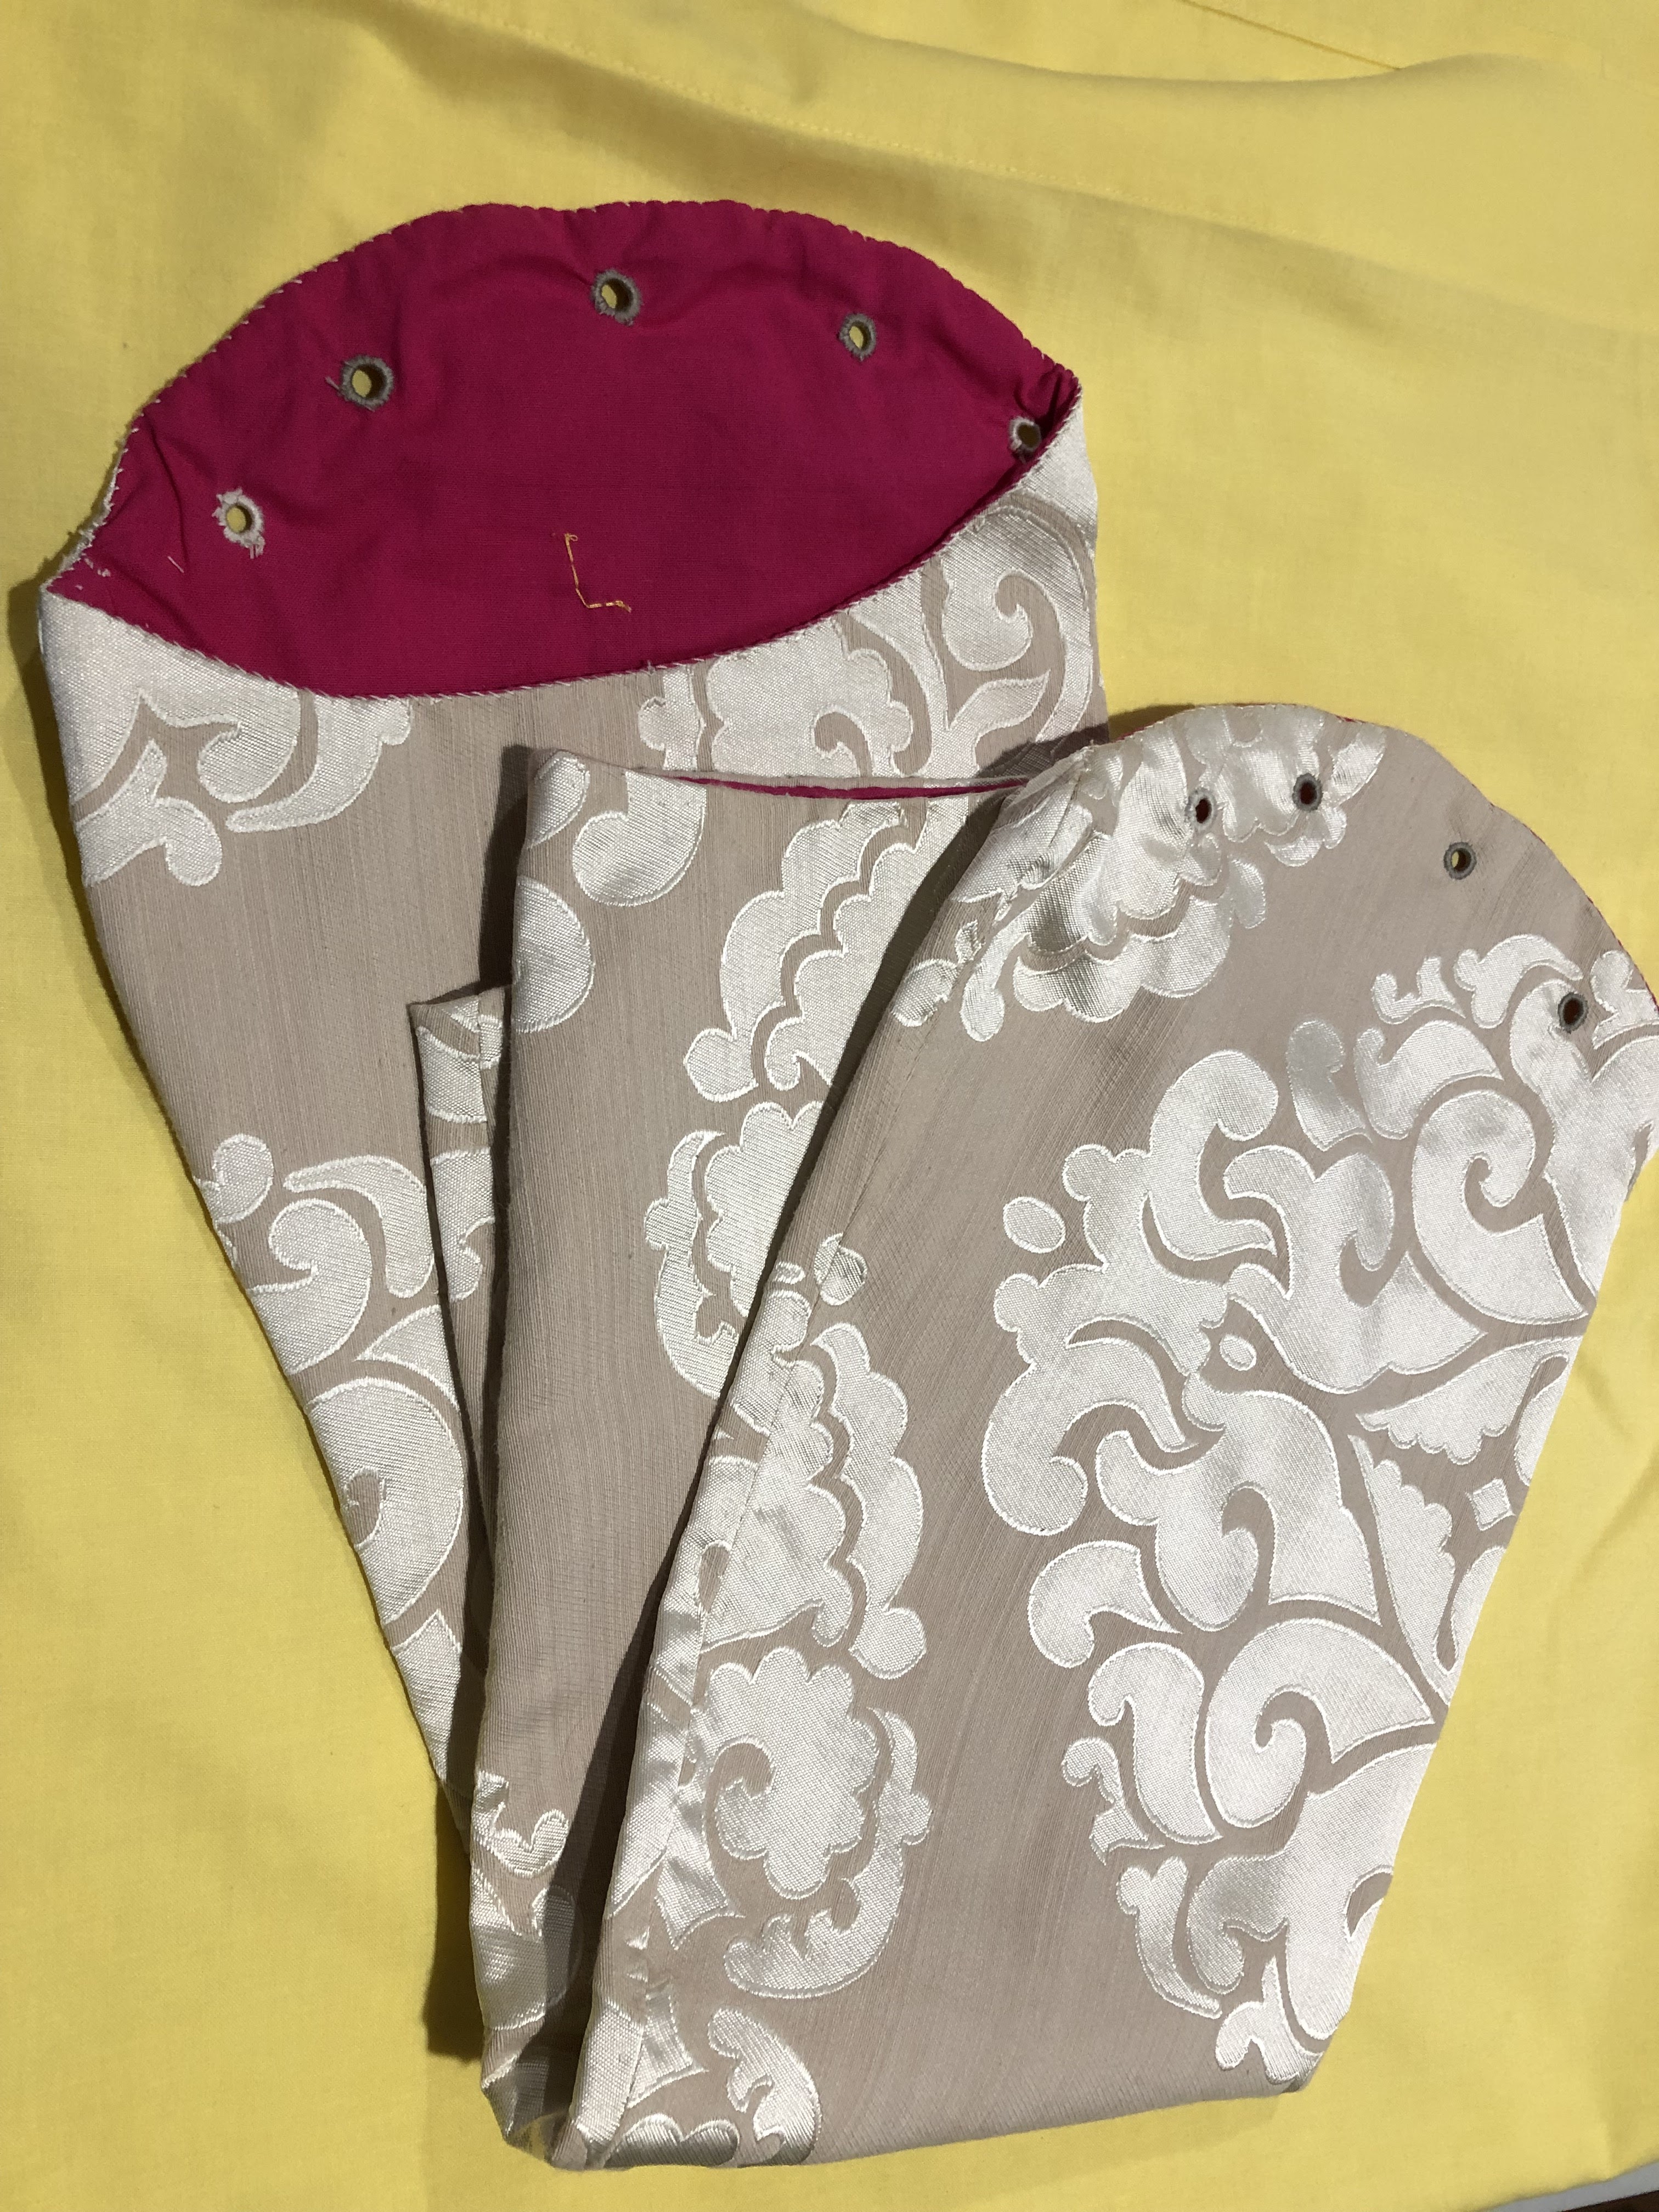
Second is another pair of sleeves that just needed two more eyelets added on each sleeve and the top edge whip- stitched to be wearable.

Last year Duchess Constanzia Moralez of Lochac set a Challenge to all those interested -The May Day Challenge (a personal challenge on how to improve your SCA in any way by May Day, AS LVII).

My Challenge was to work on that UnFinished Object pile and get some items finished. My friend won Crown during the Challenge, and so some of my energy was diverted into helping create garb for Them and Their Household, but I did manage to get some items finished before the Challenge ended.
First up is a pair of sleeves that just needed two more eyelets added on each sleeve. (An easy task to put off, because I hate doing eyelets!)
#/media/File:Sofonisba_Anguissola_-_Portrait_of_the_Artist's_Sisters_Playing_Chess_-_WGA00697.jpg)