
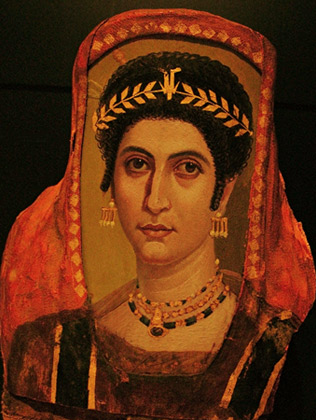
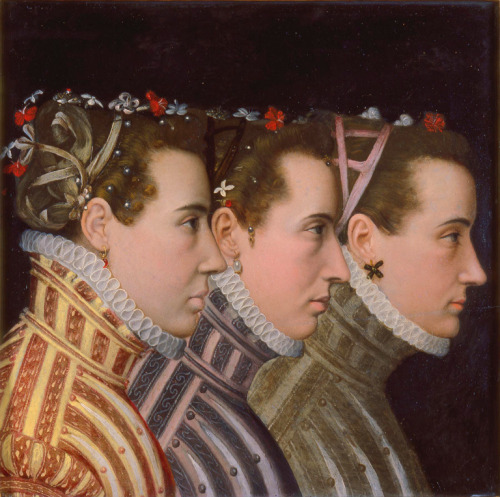
I have been making a few new fixed fans and thought I would post a little on how I make them. Sixteenth century Italian and English noble women used feather fans (among other types of fan)- they are a symbol of wealth and influence as well as a very pretty and useful accessory.
First, I start with the fan handle. I have used many things for handles in the past; mirror handles, wooden spoon handles, spatula handles and ping pong paddles. This time I am using wooden spatula handles. The brown one has not been cut to size yet. This type of utensil has a bevelled edge that I like to cut off and sand back. (This step is probably not essential because the top end is covered with feathers, but I like the idea that it is neatly finished under all the feathers.)
Choose your handle with an eye to what you will use the fan for. If you really need a strong fan that will generate a lot of breeze, I recommend a ping pong paddle; it will produce a good breeze but make quite a squat fan. Spoons and spatulas are usually more elongated through the handle but have a smaller head or face to attach the feathers to.

Once the handle has been trimmed (if necessary), I sand it back lightly to remove splinters and rough edges.

Next I paint the handle. I personally prefer water based acrylic paints because they are non toxic, easy to clean up with soap and water, cheap and easily available, but of course this is just a personal preference. I have made brown, gold, black, grey and maroon handles in the past.
Do several layers of paint, allowing the coats to dry well before adding the next. Work the paint in well. Often, near the end of the painting and layering process, I will do another light sand and then a couple more layers of paint. Sometimes I will add some decoration like gilded lines etc. I like to use a nice varnish or sealer at the end of the painting process too.
If the handle has room, I often will attach a small hook at the base end of the handle. (The type I am using in these pictures does not have enough width to attach a hook.) The large handle is for a fan that is going to be part of a static arts and sciences display, so it will not need a ring and chain. If it did, I would have drilled a hole in the handle before I started sanding and painting.

Assemble your feathers and play around with the arrangement that you will have so that you know roughly where you will place the feathers and how it will look. I find that I usually need more feathers than I think I will. I like ostrich feathers but have used a range, including peacock and cockerel feathers and pre-assembled sections that you can buy in millinery sales.

Now that the handle is all nicely painted and varnished and you have your feathers ready, it is time for the fun part. Hot glue gun! In period, animal based glues were often used for this type of task, but I like the immediacy and strength of hot glue. It is a real novelty because I don't normally get to hot glue anything when making re-enactment accessories.


I like to glue the main part of the body to the backing. This means that only the top third (or less) of the feather will stick out over the base, but it will protect the feathers from too much damage. If you wear your fan on your girdle, it will get a bit of bumping and wear from moving while you are walking, and feather fans are a magnet for small children and dogs! I trim the hard ends from the bottom of the feather before I glue them. I use the edge of a scissor blade to press the feathers down hard. You need them to be very securely attached.

I keep layering my feathers until there are not any gaps and so that they are evenly and pleasingly arranged. As you are glueing, try not to let the thin glue threads get into the feathers. You will see them on the finished fan and they look nasty and plastic-y. They also damage the delicate feathers when you try and pull them off, so try to avoid getting on there in the first place.
When the first side is set, I turn the handle over and do the same thing in the same pattern on the other side. Once I even did peacock feathers in two different colourways so the fan was reversible'.

To finish the look, you can add a jewel or pretty accessory, a feather pad or any other type of accent. I have used metal plates, pieces of broken costume jewellery, feather pads etc. Keep an eye out in craft stores, bead shops and thrift stores for little pieces that you can use. Metal pieces can get very hot from the glue, so use a cloth to press the piece down.


Finally, I add a chain to the hook, or thread a ring through the hole in the handle and add the chain to that so that I can hang the fan from my girdle. I tend to add a clasp to each end of the chain too so that I can hang the fan in summer and my muff/snoskyn in winter. (This one is for display so doesn't need a ring.)


.jpg)


