Last month I was chatting to a friend about how we might previously have thought that a global pandemic (and subsequent SCA shut-down) would be a great time to catch up on projects and get things done, and how surprised we were by how tired and unmotivated we were. We decided that we would try and motivate each other and challenged ourselves to complete a pair of sleeves each in a month.
The first step was the pattern. I had a nice comfy one that needed a bit of a tweak, but my friend didn't have a pattern. We had a fun Zoom session with me trying to help her draft a pattern by draping.
Next step was cutting out. I was lucky that I had some fabric set aside to make a set of sleeves. Two lots actually, which was lucky because I was tired when I cut the first pair out and I cut out two left sleeves. Ugh! I know better, but if I didn't do any cutting or sewing when tired, I would be getting even less done than I am now.
Take 2 and the sleeves were cut out along with a matching lining. I ran a machine zig-zag stitch around the edges and then sewed the seam.
Then I finger pressed the seams open and ran a little stab stitch along the inside to keep them open.

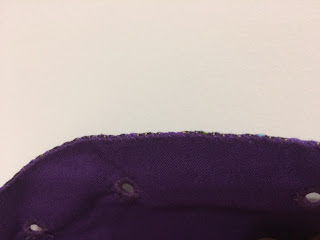
I lay the sleeve flat and pin the outer sleeve (fashion fabric) hem. It is important here to make sure that the inner lining is nice and smooth too with no bumps or folds. I use tiny stab stitch to sew it in place. Then I fold the lining hem under, leaving about 3 mm of the sleeve showing. I used to just marry the two edges together, but I was finding that the lining would often start to bubble out slightly after a bit of wear, especially if the lining was a different type or thickness of fabric.
This lot of eyelets is not the best that I have done, mainly because I haven't done any in so long and because I was rushing. But they work fine, and I got them done in a night. I actually wore the sleeves to a virtual online event. It was nice to be back in garb again and I was happy to have finished them. I like my 'comfy' sleeve pattern because it is not restrictive, unlike some of my tighter sleeves.


No comments:
Post a Comment