The black velveteen caul that I regularly wear to events is starting to get a bit worn and daggy and I decided it was time to make a new one. The only problem was that I made my old one so long ago that I couldn't remember what size circle I used for the 'bag', and I hadn't kept a pattern!
I have had this old wonky wire ring for years and use it to trace rough circle shapes, so I figured that I had probably originally used this as a pattern. I traced the circle and then added 1.5 cm seam allowance all around just to be safe.
I had some Christmas-type gilt decorative ribbon for decoration. I thought this pattern would work well. The next step was to pin it all into place and hand sew down. I sewed down each edge for durability.
The caul after sewing down the gilt strips(above). It is a bit wonky as I was on holiday and had no ruler, no sewing machine and very little equipment. I had to 'guesstimate' things and found that the gilt strips slipped around a lot. The joins of the gilt thread have a baroque freshwater pearl sewn on them.
I hand-stitched the lining to the velveteen. Then I added two rows of fairly large gathering stitches around the edges. I had the long edges hanging out at the side centre. At this stage, I still didn't know if I had made the bag the correct size, and whether it would fit.
I measured my head and worked out how wide I wanted the band of the caul to be; I didn't want it to be too tight. I added 1.5 cm seam allowance and machine zigzagged the edges because the velveteen frays a lot. I hand sewed the ends together and then tacked the edges down so that they wouldn't move and slip and distort the shape of the band.
The band all tacked up and ready to sew. There is a faint fold mark in the middle of the band which shows where the front edge of the band will be when it is made up.
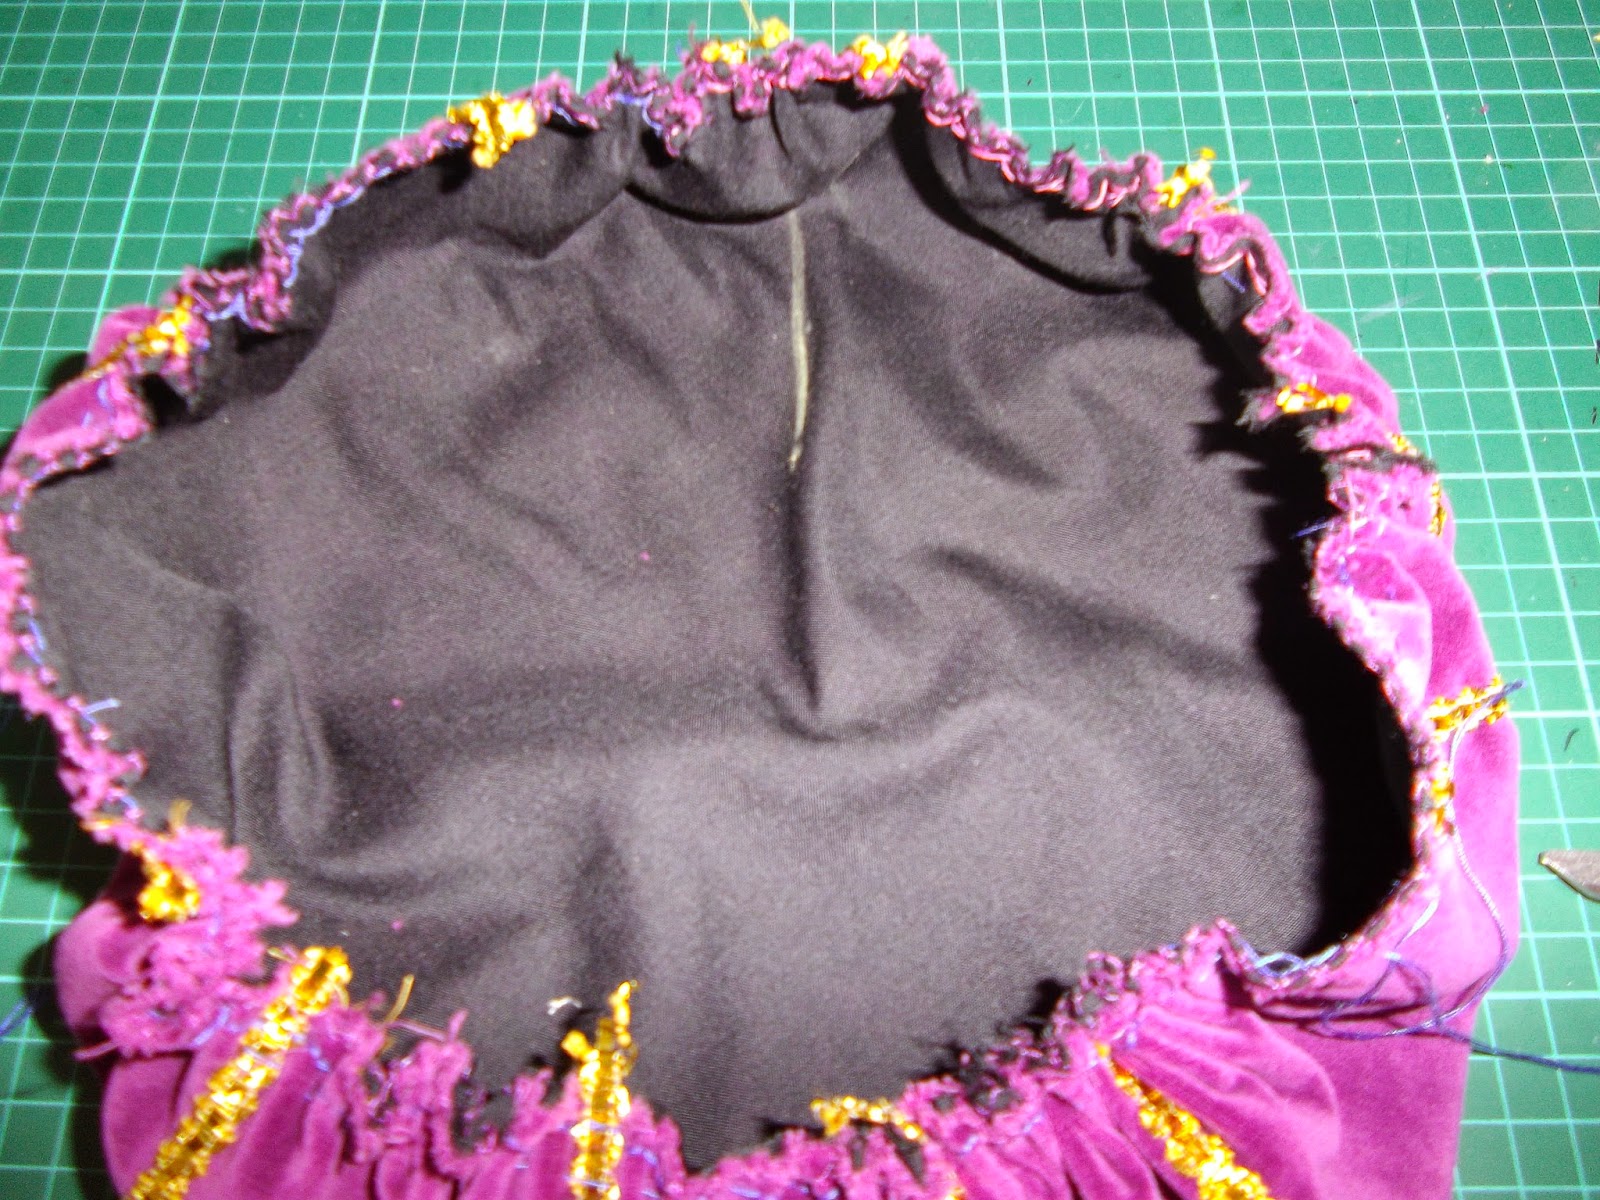
This image gives an idea of how much the fabric gathers in when the two sets of side threads are pulled. (The gathering threads are dark purple.)
Once the gathering stitches have been pulled in, I adjusted the gathers so that they were fairly evenly distributed around the hat. The yellow chalk line is the top of the hat.
Putting the tacked band into place over the edge of the 'bag' part of the caul. I tucked the edges of the bag into the fold on the band, trying to make sure that the edge of the 'bag' (the gathered part) was touching the fold in the band. It did move around quite a bit, so there are a few places where it has slipped back.
Pinning the outside of the tacked band on. I sewed the outside down first to minimise moving and slipping.
The next step was to sew down the inside of the band, but I thought the band edge looked a little plain.
I found some gilt thread in my stash and couched one line of it down around the edge of the band. I couched it down with a doubled piece of yellow sewing thread (probably cotton or poly-cotton).
Next, I turned the hat inside out, and pinned the inside of the band down. Then I hand sewed the inside piece down.
The band is slightly thick. I don't mind it like that, but I may reconsider my technique for the next one. I am thinking that I may omit the lining, reduce the seam allowance, or choose a less bulky fabric for the caul and/or band.
The finished caul on a stand.
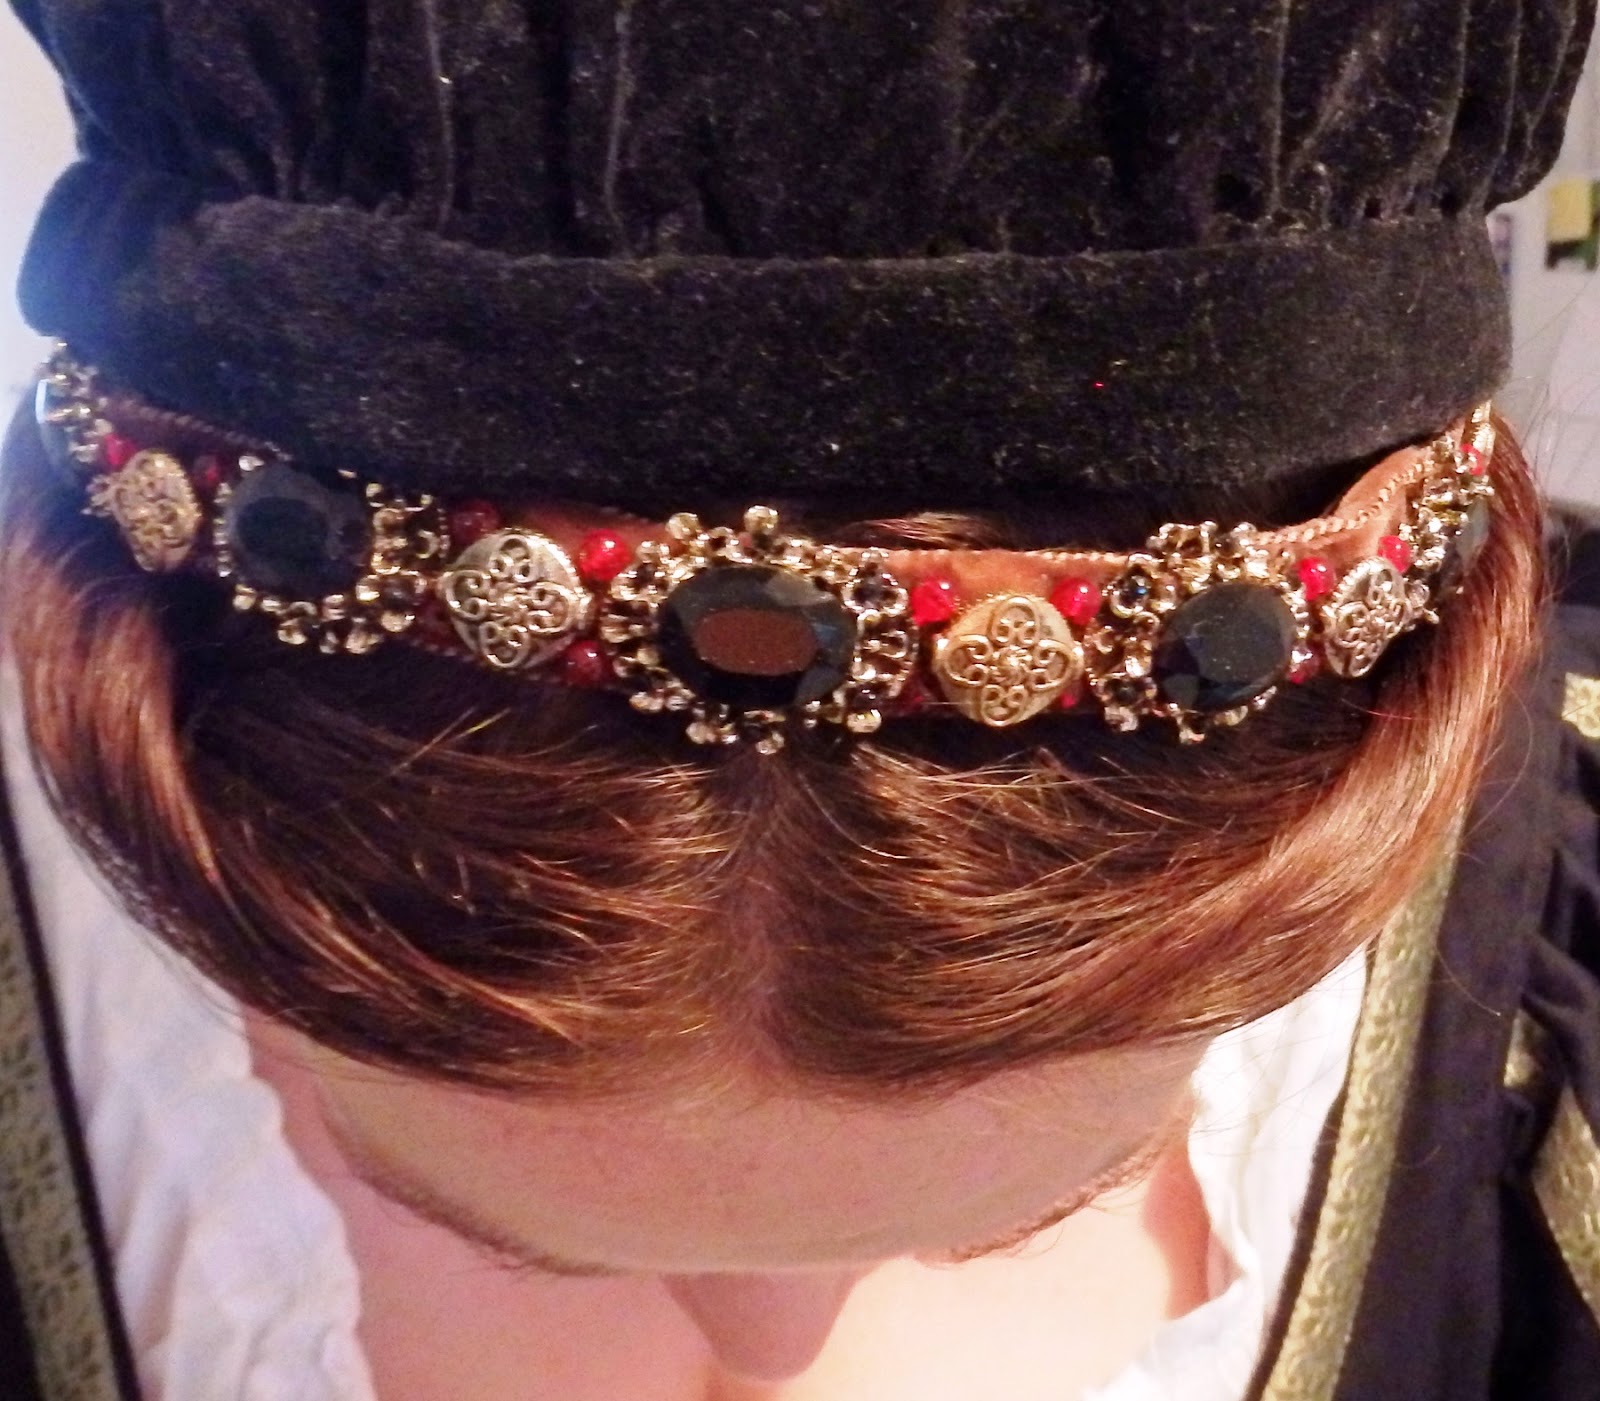
I usually sew in a metal comb to help hold the caul in place, but this time I have tried wig clips. We'll see how they go! I need a comb or a clip because I usually wear my cauls behind a jewelled billiment and twisted hairstyle (below). It doesn't sit way back on my head, but I like the security of knowing that the clips or comb will stop it coming off.
I am pleased with how this project has turned out. I feel a little gaudy in such a bright hat, but I think it is pretty, and I am very relieved that it actually fits. This time, I kept notes so that I don't have to guess the next time I go to make a new caul.


wonderful job
ReplyDelete