Showing posts with label double running stitch. Show all posts

Saturday, June 26, 2021

Birds and Flowers Green Embroidered Caul

I recently finished this long term project. I have worked on this and a couple of other pieces every year at one of our Medieval Faire demos. I was trying to work out how long I have been working on them - probably one day a year for ten years! It is nice to have it finally finished. It is a record of how my skills have developed over that time.

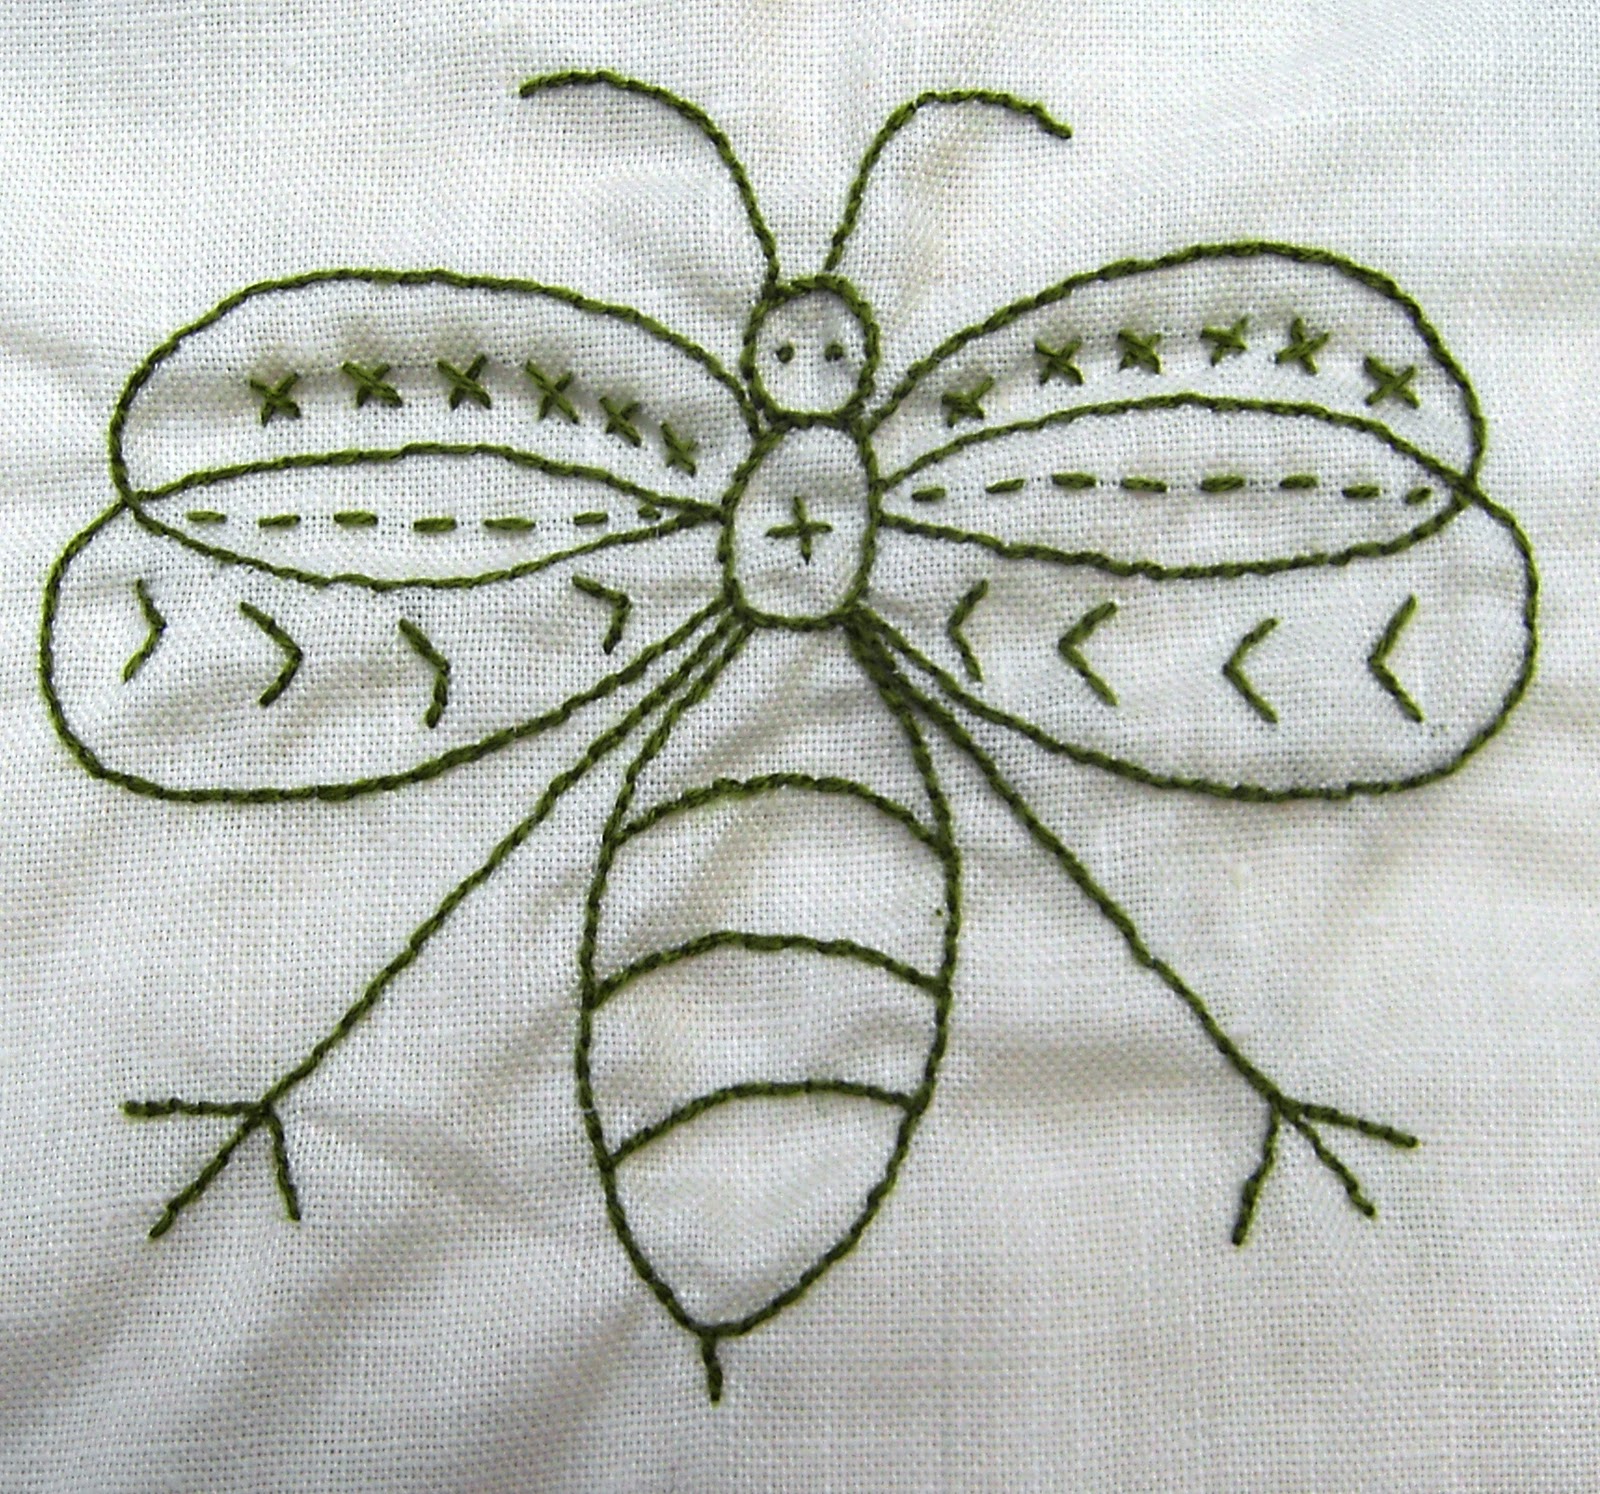
The embroidery is worked in DMC embroidery floss on linen ground fabric, and the spangles are metal.


The fabric circle is gathered into a band which is decorated with green ribbon, I have added a metal comb inside the band to help keep the caul in place, and a couple of little buttonhole rings to slide bobby pins through.

This link to a previous post gives more information on the construction process: http://broidermebethan.blogspot.com/2014/05/purple-velvet-caul.html

Saturday, April 25, 2020

Partlet Decorated With Holly Design

I finally managed to get the hems sewn on the holly partlet, and it is ready to wear. I am pleased with how it turned out, and I would like to do another in different colours in the future.
(It is sitting a little askew on the mannikin here.)


Sunday, October 7, 2018

Elizabethan Forehead Cloth for A Friend's Birthday

I normally love giving projects away, but I confess that this one was a bit of a wrench. It was the last project that Bitey and I 'worked on' together, and I finished sewing it after she had gone.

It was designed to go with an Elizabethan monochrome coif I embroidered many years ago. The design was very slightly different to that on the original coif because I no longer had the pattern for the original piece, only an enlarged design based on it that I had planned to decorate a partlet with.

My post about the original coif can be found here: http://broidermebethan.blogspot.com/2013/05/new-world-elizabethan-coif.html
Here are some photos of the original piece-


The forehead cloth was sewn with black DMC floss on linen base fabric with a mix of double running stitch and stem stitch. 
 Designing the pattern
 The design traced out with Frixion marker

I left it unlined to reduce bulk and heat, and omitted the spangles so that it sat flatter and closer to the forehead and had nice, clean lines without the edges of spangles sticking out on odd angles.
A strip of the base linen was bound to the un-hemmed edges and used as the cords to tie it on.

Machine zig-zagging the edges of the embroidered piece for extra durability.

Ruling out the binding strips/ties.

Binding/ties pinned on and ready to be hand sewn.

The finished piece.


The not-so-neat back!


My dummy head is quite small so the forehead cloth looks a little big on her.


A gift for a friend made with the help of a friend.


Thursday, June 1, 2017

A&S Century Challenge - Embroidery and Trim Sewing

Today I sewed down another edge on one of the ribbons that will decorate the sleeve of my next chemise. I also found a mostly embroidered chemise sleeve, and did a little bit of work on that.
I hope to get time later on to do some illumination. My energy is very slowly starting to return as the pleurisy improves.


Monday, May 29, 2017

Embroidered Chemise Band - A&S Challenge

I got a little bit of embroidery done today. This will be a simple gathering band for a chemise. It is done in double running stitch (Holbein stitch) in DMC floss. The loose running stitch is a temporary marker to indicate a fold line.


Friday, January 20, 2012

Orange-red Geometric Band Partlet


Today's post is a picture of one of my early monochrome embroidered partlets. It is embroidered in two strands of an orange-red DMC cotton floss. In period, silk would probably have been used. I used cotton fabric for the body of the garment, whereas in the sixteenth century linen was a much more commonly used fabric. Both these substitutions were made for financial reasons. The garment is hand sewn and was completed in early 2007.


Stitches include stem stitch, running stitch and an ornamental buttonhole stitch.

I rely very heavily on reprints of sixteenth century pattern books to source my embroidery designs and gain inspiration. This partlet embroidery design is a direct copy of a popular sixteenth century band design that crops up in several pattern books. 

Here is a book that I use very often  

Tuesday, January 17, 2012

Elizabethan wasp smock


Here is another project from the to-do pile. It is a low necked Elizabethan smock, made out of rectangular and square panels of natural linen. The panels have not been assembled yet, but I plan to finish each panel separately (after the embroidery is finished) and then whip them all together.


I would have to check, but I think I started this project in 2007 or 2008. The motif is adapted from an extant piece in Queen Elizabeth's Wardrobe Unlock'd (page 292). It is a flying insect drawn in ink onto linen and embroidered in black silk, circa 1585-1600.  Here is a scan of the image:


The original is in the Museum of Costume in Bath. I decided to change the insect a little bit and also include a stinger. Also, some of my wasps have smiley faces. Mine are embroidered in two strands of green DMC cotton floss.


As you can see, there are several types of stitches used here, including double running stitch.

Honestly, I had forgotten all about this project! I am glad that I wrote it up for today's entry. I will try and finish this smock this year - the little wasps make me smile.

Monday, January 16, 2012

Grey flower motif chemise

I finished this chemise a few years ago. It is made of light cotton gathered into a bias binding neckline. The sleeves are decorated with flower designs inspired 'A Scholehouse for the Needle' and by the Warwick shirt.  'A Scholehouse' was a pattern book drawn by Richard Shorleyker (1632.) It contains many designs that exist in pattern books printed at various times in the sixteenth century. The Warwick shirt is an extant example of Elizabethan monochrome embroidery* (done in red). It It has some beautiful designs on it, and can be seen here:
http://www.warwickshire.gov.uk/web/corporate/pages.nsf/links/aa47f702d5996adc80257149002da95e


The shirt is part of the collection of the Warwickshire Museum: 
http://www.warwickshire.gov.uk/museum


You can see a very interesting article, including some designs from the shirt, here:
http://knol.google.com/k/elizabethan-blackwork-embroidery#

The sleeves on my chemise are very big and are designed to be puffy enough to allow them to be pulled out through slits in split sleeves. When worn without an oversleeve, they flow over my hands:


As with most of my clothes, the chemise is used for both Italian styles and under my Elizabethan loose gowns. The designs are worked in grey DMC cotton in a range of stitches, including buttonhole stitch, seeding stitch, stem stitch and double running stitch. All visible seams were handsewn, except for the hem.

The sleeve laid out before sewing (the white tiles underneath are showing through the thin fabric.)


* also called as 'linear blackwork' or 'single-colour, non-counted blackwork'

Sunday, January 15, 2012

Collarless Italian Partlet


For my second post today I am posting a picture of a previously completed project. This is a collarless Italian partlet. The ground fabric is a natural fibre; I suspect a cotton blend. The fabric came from the remnant bin and looks like a coarse linen. The embroidery is taken from a sixteenth century reprinted pattern book. The design was traced out with a water soluble pen with the fabric taped to a window. In period, a common method of transferring embroidery designs onto light fabric was to draw them on with ink. We know this because examples of unfinished sixteenth century embroideries still exist. Check out the V&A Museum's collections for some lovely examples: http://collections.vam.ac.uk/

I prefer the soluble pen because my hand is not that steady!

The embroidery at just past half way
This project was undertaken pre-2008. I don't normally trace designs onto garment pieces that are pre-cut. I can't remember why I did it this way; perhaps it looked too bare with no embroidery. The embroidery was done in two strands of DMC cotton. Silk would have been the most popular choice in the sixteenth century, but it is hard to source where I live, and also usually beyond my budget.

I worked the embroidery in a hoop. The plant stems (in black) were executed in stem stitch, and the flowers (in gold) were done in a double running stitch.


This is the finished partlet, which has been hand sewn and hand finished. I added some commercially available, machine-made metallic bobbin lace to finish the garment off.