I wanted to make a gift for a friend who was elevated to the
Order of the Pelican. Originally, I planned a matching set of embroidered
collar and cuffs for a linen shirt. I finished the collar,but the project stalled before I got the cuffs underway. The recipient recently mentioned to me
that he preferred no cuffs on his shirts to reduce bulk under his doublet. This revelation meant that I had the project already finished and I hadn't known it!
‘Blackwork’ was a popular style of embroidery in the later
part of the SCA period, although the term ‘blackwork’ is misleading as it implies that the embroidery was only
done in black thread. Classic black on crisp white is certainly striking and
was very popular in the sixteenth century, but extant monochrome
embroideries in red, green(Carew-Pole
nightcap), blue
(1610 waistcoat,
V&A: 179-1900), purple and pink
(1630s woman’s smock at http://costume.dm.net/va/smocks.html) still exist.
Linear monochrome embroidery (often worked in double running stitch) was
popular throughout Europe during the sixteenth century. In fact, this type of
stitchery is so common in Holbein portraits from that time that the
double-running stitch is often called ‘Holbein stitch’.
Monochrome embroidery
(‘blackwork’) is also found in earlier periods in Middle Eastern textiles, and
the geometric shapes found in Tudor blackwork echo similar designs and shapes
found in Middle Eastern embroideries. This fact may have contributed to the
story that Katharine of Aragon brought monochrome embroidery (‘blackwork’) to
England when she arrived to marry Prince Arthur Tudor in around 1501. It is
believed that the occupation of Spanish territories by ‘the Moors’ influenced
design and embroidery, and that ‘blackwork’ or ‘Spanyshe worke’ was introduced
to England by Princess Katharine. Although references to this story are
discussed in ‘Blackwork Embroidery’ by Geddes and McNeill, I have not found any
firm documentary evidence that this story is true. Geddes and McNeill also
quote a line from Chaucer “..embroidery
repeated It’s pattern in the collar front and back, Inside and out…” (p. 25)
which does sound like blackwork, but could also be many other types of
embroidery and so therefore does not clear up the issue. Examination of English
portraiture from the reign of Henry VII and Henry VIII show a marked increase
in blackwork embroidery on clothing during Henry VIII’s reign but we cannot
know if this is due to the introduction of a new stitch technique, copying of a
fashionable Royal or just a new fashion craze. After Henry’s reign, the
Elizabethans took blackwork to a whole new level, with the development of
polychrome counted and non-counted blackwork and the introduction of spangles,
metal threads and raised elements.
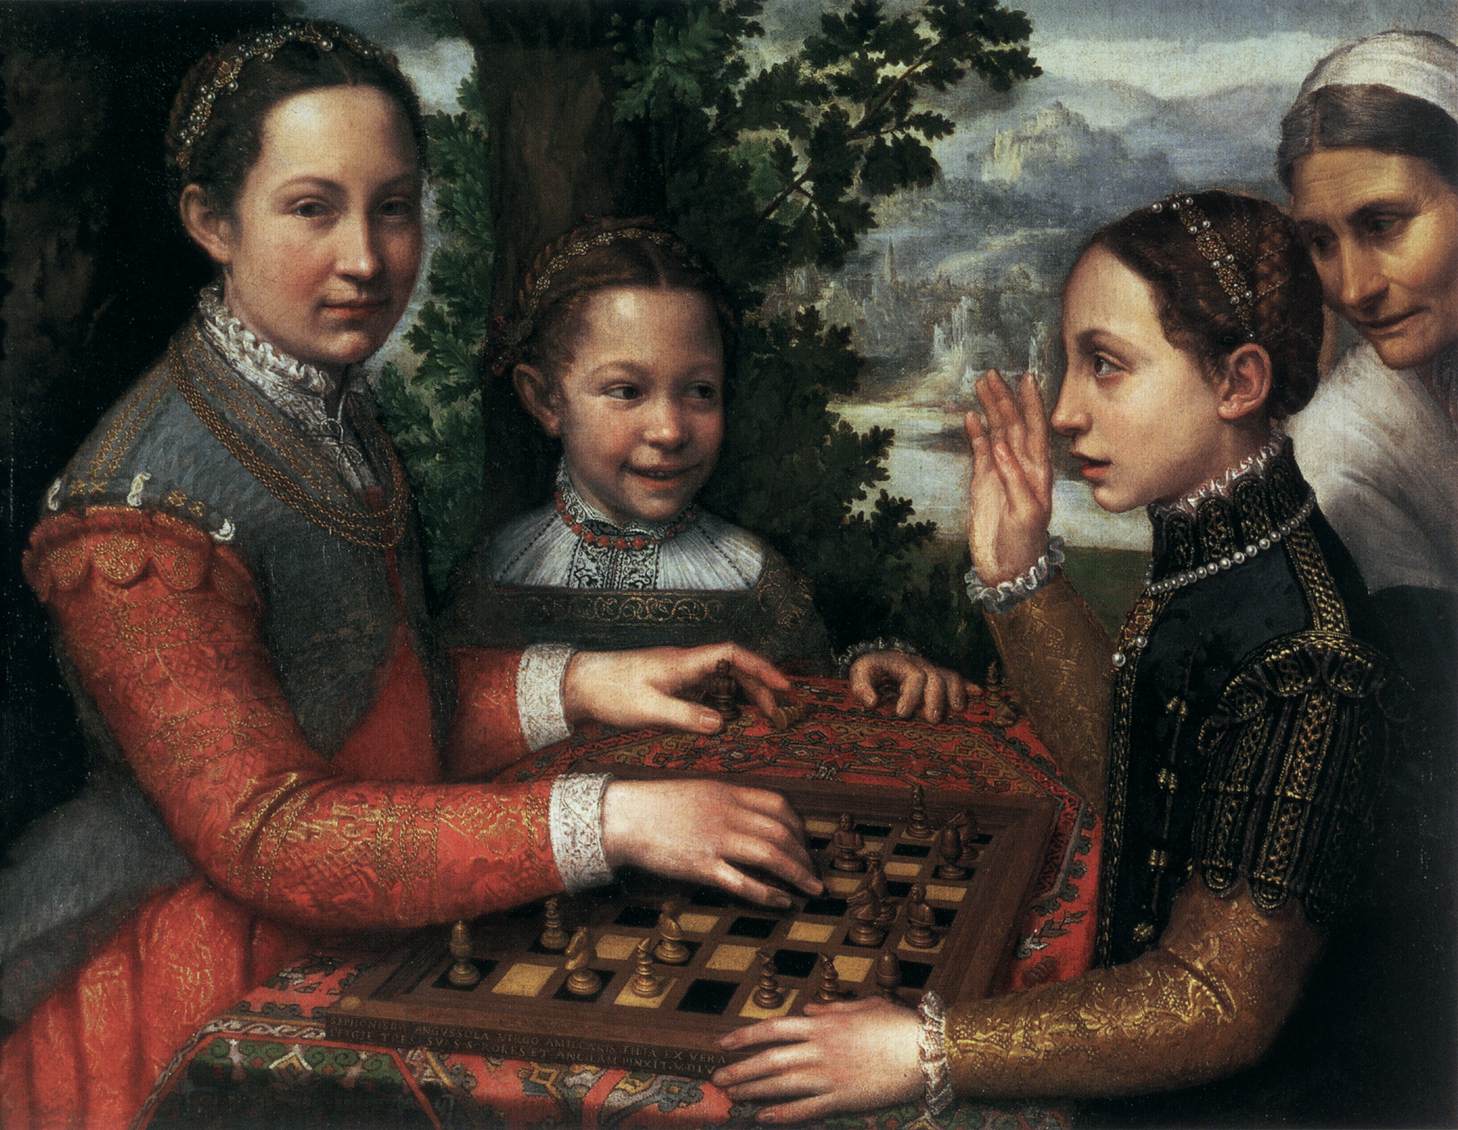
The appeal of blackwork was not restricted to England.
Examples of blackwork and similar techniques can be seen in sixteenth century male
and female portraits from around Europe.
The book Moda a Firenze has some wonderful close-up details of blackworked body linens of Italian nobility.
Blackwork can be done in non-counted form, or in counted
form. In counted blackwork, the design is marked out on the background fabric
(traditionally linen) by counting threads and working the design over a set
number of threads, often filling the interior of the design in with a pattern
or repeat. Non-counted blackwork is more free-flowing and involves stitching
over a pre-drawn design. I prefer non-counted blackwork because I dislike
counted work. Double running-stitch is the most common stitch used for
blackwork because it provides an even line that (if done well) is neat and
clean on both the front and the back. A good example of this is shown in the chemise
cuffs of Jane Seymour (next page) as painted by Hans Holbein. Although this
particular example is of counted blackwork, the principle is exactly the same
for non-counted blackwork, and makes the technique ideal for items of clothing
where both sides might show. For example, cuffs, ruff edges, collars etc. Queen
Elizabeth’s Wardrobe Unlock’d contains ‘The Stowe Inventory’ – a list of
clothes , silks and personal jewels remaining in the Royal residences- which gives
a fascinating and detailed inventory of the types of fabrics and clothing items
that were embroidered, and includes details of colours, jewels, aiglettes and
spangles.

Image from: http://en.wikipedia.org/wiki/Jane_Seymour
I generally prefer not to do a straight copy of an extant
embroidery or period design, and this time I decided to combine some designs
found in the design book Modelbuch aller
art c. 1527. The designs (birds and scrolling floral motifs) that I combined are from plates 2, 3, 7 and 63.
These birds represent ‘Pelicans in their Piety’. This is a
religious motif that was very common in the Middle Ages and Renaissance and shows
the pelican piercing it’s own breast to feed it’s young with it’s blood (a
symbol of the Passion of Christ and the Eucharist [Wikipedia]). In the SCA it has no religious
connotations but signifies the sacrifice and dedication to extraordinary
service demonstrated by those elevated to the Order of the Pelican, and is a
symbol of the Order (and thus a very fitting motif for a gift for a new
Pelican!).
A sketch of my combined, simplified design:
These types of design are very common in the existing sixteenth
century modelbuchs. Close inspection of many of the books show that designs
were probably lifted from one book and reprinted in another, often with little
or no adjustment. This would suggest that many of these designs were widespread
in use in the decorative arts across Europe.
Once my design was ready, I chose my fabric. I used a
cotton/linen blend due to budgetary concerns and availability of pure linen.
Similarly, I used DMC cotton floss rather than silk. Pure linen base fabric and
silk embroidery thread would have been used in period, based on wardrobe
accounts and many extant examples. Although cotton-linen blends were known and used in period
(e.g. as a cotton-linen blend called ‘fustian’) it was heavy, not as commonly available or as cheap as it is today
and was not used for body linens (Tudor Tailor p. 37, Tudor Child p. 61).
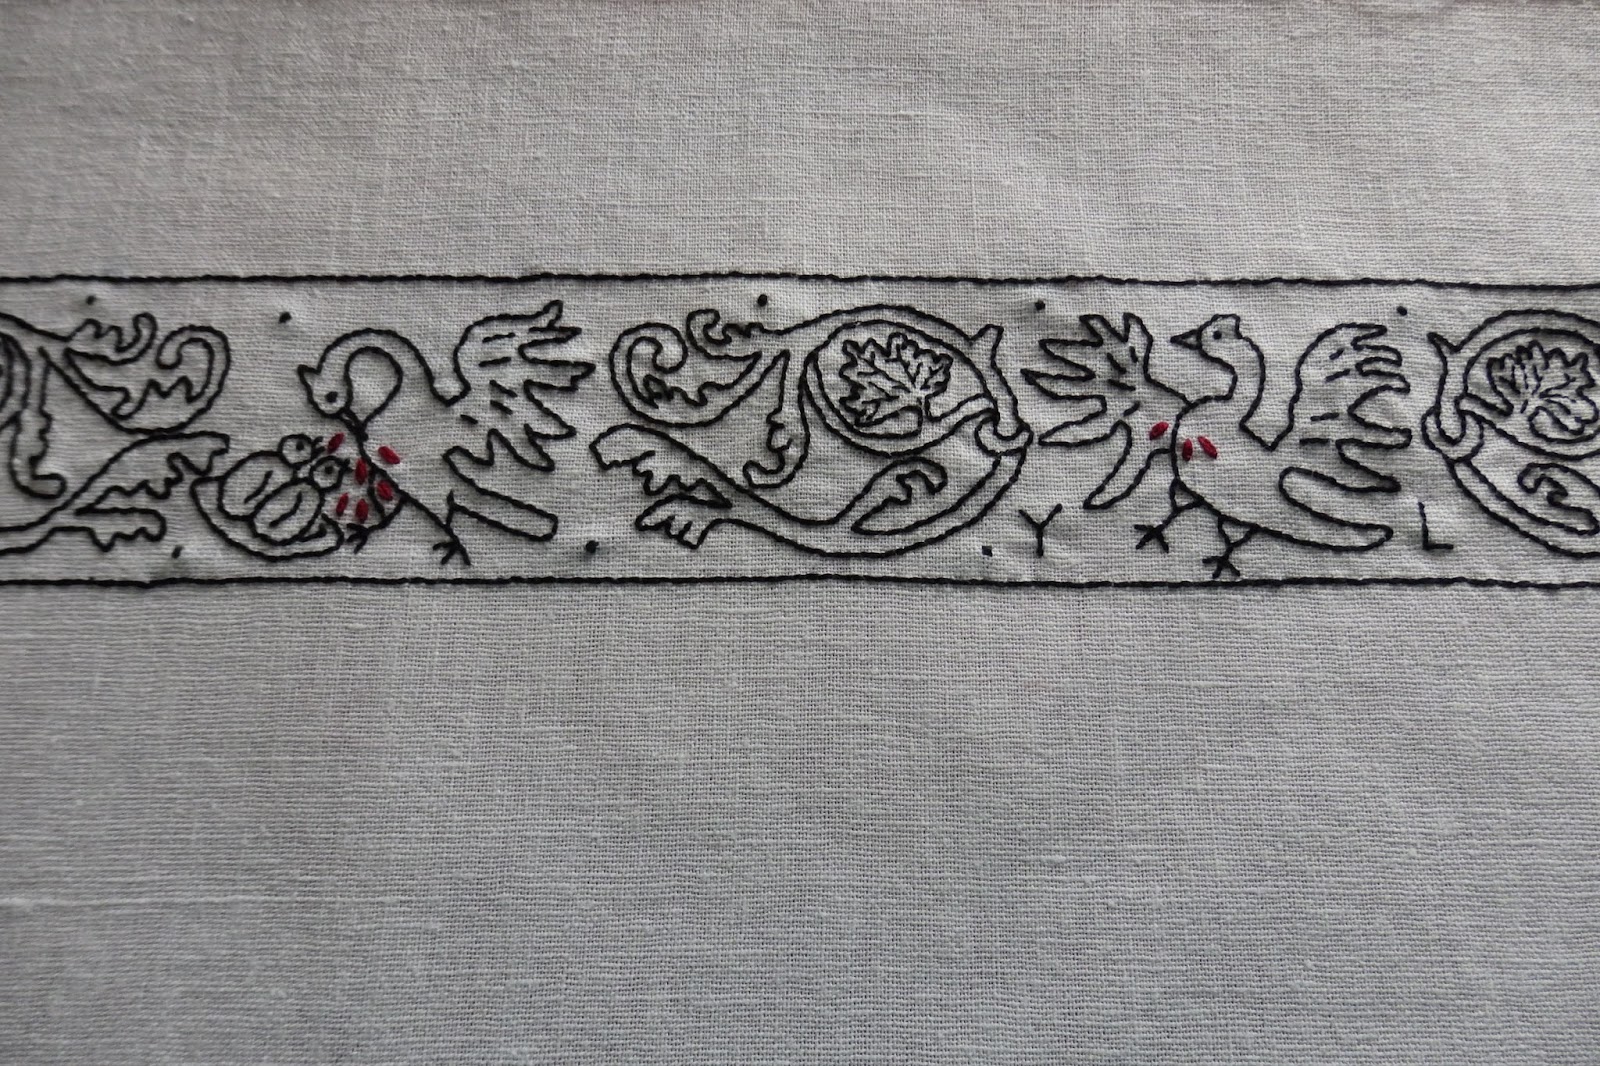
Extant linen examples held by the V&A Museum such as the
one below
(Queen Elizabeth’s Wardrobe Unlock’d, p. 273) show that
embroidery designs were commonly drawn onto the base fabric in ink. I am not confident
enough for that so traced my design out in dissolvable pen ink over a light
source. I used a hoop frame and used two strands of floss. The design is worked
in double running stitch with the addition of decorative knots and maroon
detached buttonhole stitch for the blood drops. Stem stitch or backstitch could
have been used, but I like the neatness of double running stitch and like
knowing that it was used for this type of embroidery in period as evidenced by
Holbein’s portraits. I knot my work on body linens because I tend to throw them in the washing machine, so I work on the expectation that it is likely that others will too.
Once the embroidery was complete, I washed it in lukewarm
water and wool wash, rinsed it, dried it and gently ironed it. I have given it to the recipient to be made into a collar piece for his next shirt.
Here are some images of the front and back of the panel:
Bibliography
Arnold, Janet, 1985. Patterns of Fashion, Pan
MacMillan Ltd, London, UK.
Arnold, Janet, 1988. Queen Elizabeth’s Wardrobe Unlock’d,
Maney and Sons, Leeds, UK.
Arnold, Janet, 2008. Patterns of Fashion 4, Pan
MacMillan Ltd, London, UK.
Bassee, Nicolas, 1994. German Renaissance Patterns for
Embroidery- A Facsimile Copy of Nicolas Bassee’s New Modelbuch of
1568, Curious Works Press, Texas, USA.
Beck, Thomasina , 1995. The Embroiderer's Story: Needlework
from the Renaissance to the Present Day, David and Charles, Italy.
Catesby, Prudence; 2002. Wrought with flowers of black
silk, Complete Anachronist #115, Spring 2002, SCA Inc, California, USA.
Geddes, Elisabeth and McNeill, Moyra, 1976. Blackwork
Embroidery, Dover Publications Inc, Newy York, USA.
Hayward, Maria, 2007. Dress at the Court of King Henry
VIII, Maney Publishing, Leeds, UK.
Huggett, Jane and Mikhaila, Ninya, 2013. The Tudor Child,
Fat Goose Press, UK>
Mikhaila, Ninya and Malcolm-Davies, Jane, 2006. The Tudor Tailor, B.T. Batsford, London, UK.
North, Susan and Tiramani, Jenny, 2011. Seventeenth
Century Women’s Dress Patterns, V&A Publishing,, London, UK.
Nourry, Claude and Saincte Louie, Pierre, 1999. Patterns
Embroidery: Early 16th
Century, Lacis Publications, California, USA.
Orsi Landini, Roberta and Niccoli, Bruna,2005. Moda a
Firenze, Pagliai Polistampa, Florence, Italy.
Schartzenberger, Johan, 1534/2003. Patterns Book of
Embroidery: 1534, Lacis Publications, California, USA.
Wardle, Patricia; 1970. Guide to English Embroidery, V&A
Museum, Her Majesty’s Stationery Office, London, UK.
Modelbuch aller art (an 1880 reproduction of a 1527
Modelbuch found on the web, link broken)
Web References


 This early sixteenth century portrait of A
Lady with Hare by Borgona shows blackwork on the chemise sleeves and neck
edging. This was painted circa 1505 in Toledo. Image from:


