Showing posts with label jewelled hair band. Show all posts

Wednesday, June 25, 2014

Another Jewelled Headband


Recently, I completed another jewelled billiment/headband for use with my Italian SCA clothes.
This was made in a similar way to the last one, except that I used grosgrain ribbon on the back rather than velvet ribbon. It will be interesting to see whether it holds onto the hair better. Also, I added tiny delica glass seed beads around the outside edges. These may catch in the hair, making placement and removal difficult. The 'jewels' are made from elements of a bracelet and some jewellery making findings that I got from Spotlight ornamented with glass seed beads.


Sewing the wig clip to the grosgrain ribbon before sewing the ribbon to the velvet


The finished band:


Portrait of Isotta Grumelli by Moroni
image from: http://www.gogmsite.net/the_middle_1500s_-_1550_to_/1550-1555-isotta-brembati-g.html

File:Follower of Francesco Salviati del Rossi Portrait of a Lady.jpg
Portrait of a Lady by A Follower of Francesco Salviati del Rossi
image from: http://commons.wikimedia.org/wiki/File:Follower_of_Francesco_Salviati_del_Rossi_Portrait_of_a_Lady.jpg

Thursday, June 19, 2014

Jewelled Headband and Italian Hair style


I made this headband in April to go with my Italian gowns. It is meant to be worn with Italian style-hair; i.e. the rolled front swept back into a bun or hair taped or hidden in a caul. The band sits subtly behind and slightly under the rolled part of the hair.


This band was a bit of an experiment, based on Italian sixteenth century female portraits. Unfortunately, I can''t find any extant examples (they were probably broken up and elements re-used when fashions changed.) I used velveteen ribbon as the base and chose brown so that it would blend with my hair. The jewels are taken from a costume jewellery necklace I got in a sale, and the circular decorative elements came from the beading section of Spotlight but were purchased some years ago. I actually bought them to go on a Tudor under kirtle, but had to shelve that project.

The jewelled necklace was broken up. I clipped the hooks off and filed the edges flat and smooth with a tiny file.

I sewed the elements on to the ribbon after I had determined what the best length would be. I doubled the ribbon over to cover up my stitches and knots. I whip-stitched the edges together, tucking the raw end edges inside so they didn't fray.

My totally un-period but eminently practical method of securing the band? Wig clips. I love these babies. They make bobby pins (and the constant checking and adjusting that goes with them) redundant. I sewed four wig clips onto the underside of this band and it holds the band in place perfectly.

To do the style, I part my hair from ear to ear straight across my head (not down the middle as usual.) I pull the back section back into a bun or braids with hair tape. Then I move to the front section and part down the middle. Different types of hair and levels of cleanliness will affect how well the style sits and whether it needs teasing to improve the look. Bear in mind that the Italians usually didn't go to the extremes of Elizabethan hair do-s (of course, I am not including fabulous Venetian hair horns in that statement!) Reviewing Italian portraiture shows quite thin twists or rolls at the front, ranging to fatter, rounder ones in the second half of the sixteenth century. I prefer my hair curled or slightly teased for this style. It holds together better and is easier to do. Curling mouse etc. applied to the hair when damp and then styled and left overnight also makes the style easier to do on my hair, but it is a personal thing and you will have to experiment to find what works for you. I would recommend that you experiment well prior to a big event too. Something always seems to go wrong for me at the last minute, and preparation and experience can help you be ready with disaster minimisation strategies!

The next step is pinning the band evenly on your hair, near the line where you parted from ear to ear. Again, you will have to experiment as to just where suits you best and where is most comfortable. Make sure the band is sitting evenly on your head with the same amount of ribbon on either side. You may also find that your hair is thicker on one side than the other. Practising the style can help you to overcome this by teasing one side up more or using smaller curls etc.

Take the front piece of hair on one side and start rolling, gradually adding more hair in as you go along. You should end up with a little roll or sausage of hair that you can pin back into your bun or braids and which sits over the ends of the jewelled band. Do the same with the other side, trying to keep the placement of the rolls even. You can then add jewelled hair pins, bows, or even fresh flowers that were popular in the Renaissance (like pinks.)

This Portrait of a Lady by A Follower of Francesco Salviati del Rossi was an inspiration for the hairstyle-
 File:Follower of Francesco Salviati del Rossi Portrait of a Lady.jpg
Image from: http://commons.wikimedia.org/wiki/File:Follower_of_Francesco_Salviati_del_Rossi_Portrait_of_a_Lady.jpg

I am going to make several more of these bands. They add a bit of sparkle and I enjoy the gratification of these quick and easy projects. Bring on the bling!

Portrait of the Artist's Sisters Playing Chess by Sonofisba Anguissola 
Image from: http://www.wga.hu/frames-e.html?/html/a/anguisso/sofonisb/index.html

Thursday, May 22, 2014

Purple Velvet Caul

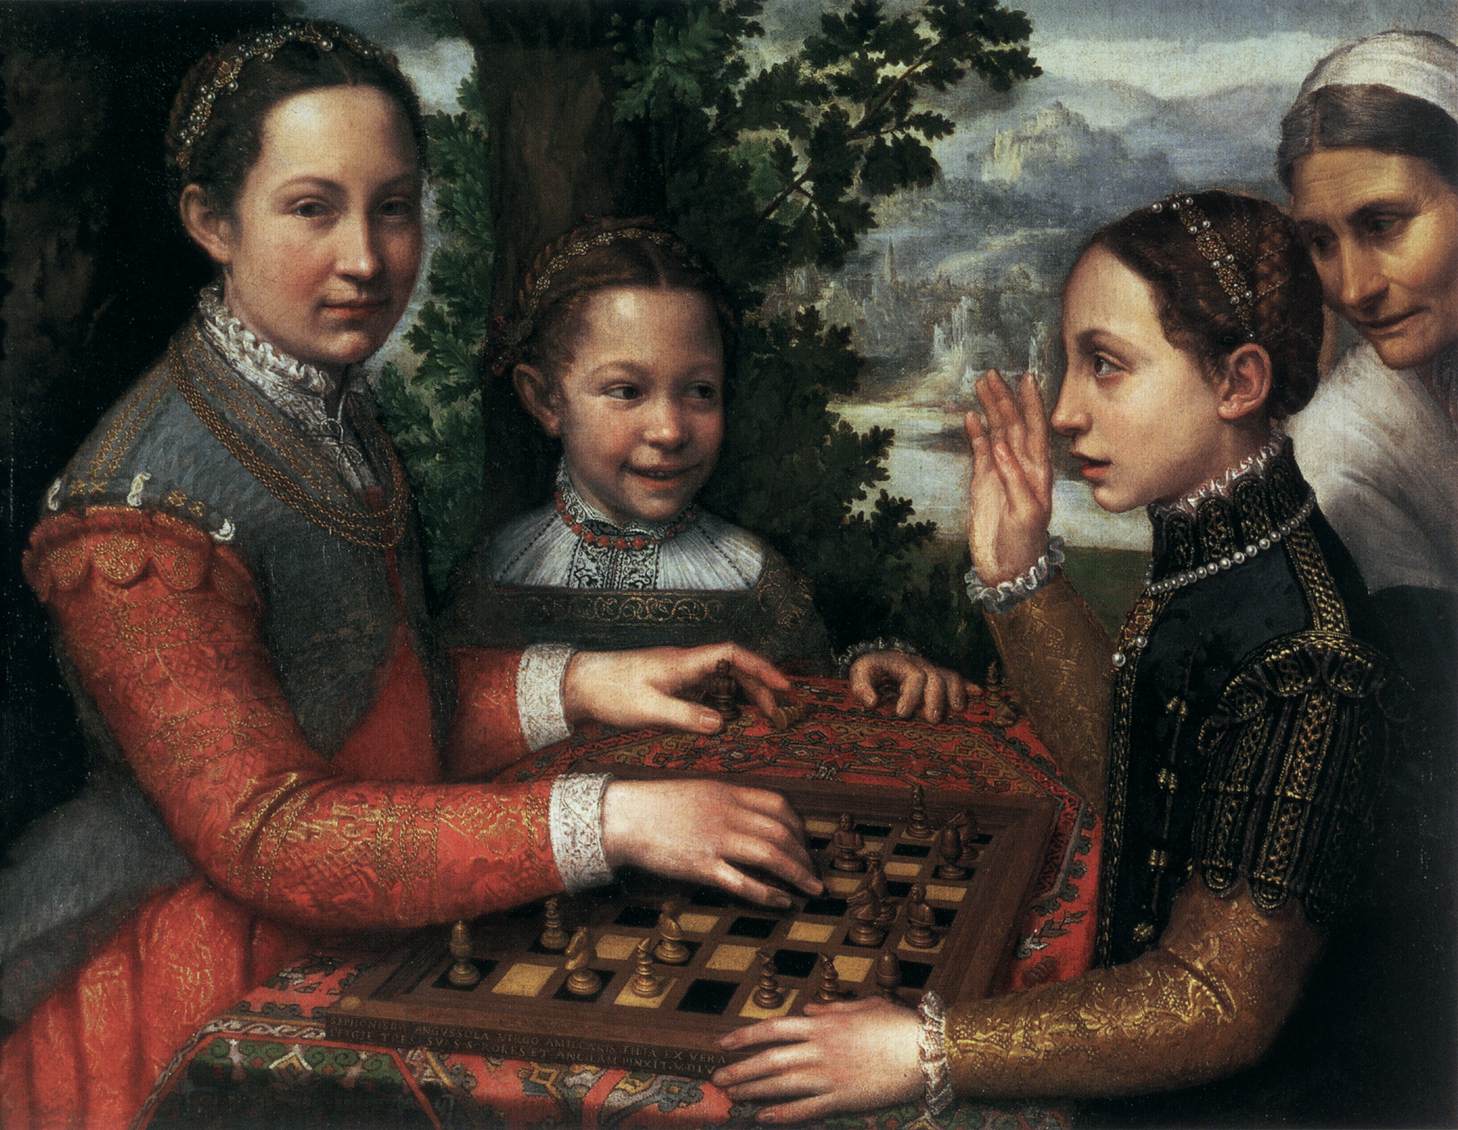
Cauls and similar headwear are seen a lot in sixteenth century portraiture, and appear in images from across Europe.

The black velveteen caul that I regularly wear to events is starting to get a bit worn and daggy and I decided it was time to make a new one. The only problem was that I made my old one so long ago that I couldn't remember what size circle I used for the 'bag', and I hadn't kept a pattern!


I have had this old wonky wire ring for years and use it to trace rough circle shapes, so I figured that I had probably originally used this as a pattern. I traced the circle and then added 1.5 cm seam allowance all around just to be safe.

I had some Christmas-type gilt decorative ribbon for decoration. I thought this pattern would work well. The next step was to pin it all into place and hand sew down. I sewed down each edge for durability.

The caul after sewing down the gilt strips(above). It is a bit wonky as I was on holiday and had no ruler, no sewing machine and very little equipment. I had to 'guesstimate' things and found that the gilt strips slipped around a lot. The joins of the gilt thread have a baroque freshwater pearl sewn on them.

I hand-stitched the lining to the velveteen. Then I added two rows of fairly large gathering stitches around the edges. I had the long edges hanging out at the side centre. At this stage, I still didn't know if I had made the bag the correct size, and whether it would fit.


I measured my head and worked out how wide I wanted the band of the caul to be; I didn't want it to be too tight. I added 1.5 cm seam allowance and machine zigzagged the edges because the velveteen frays a lot. I hand sewed the ends together and then tacked the edges down so that they wouldn't move and slip and distort the shape of the band.


The band all tacked up and ready to sew. There is a faint fold mark in the middle of the band which shows where the front edge of the band will be when it is made up.

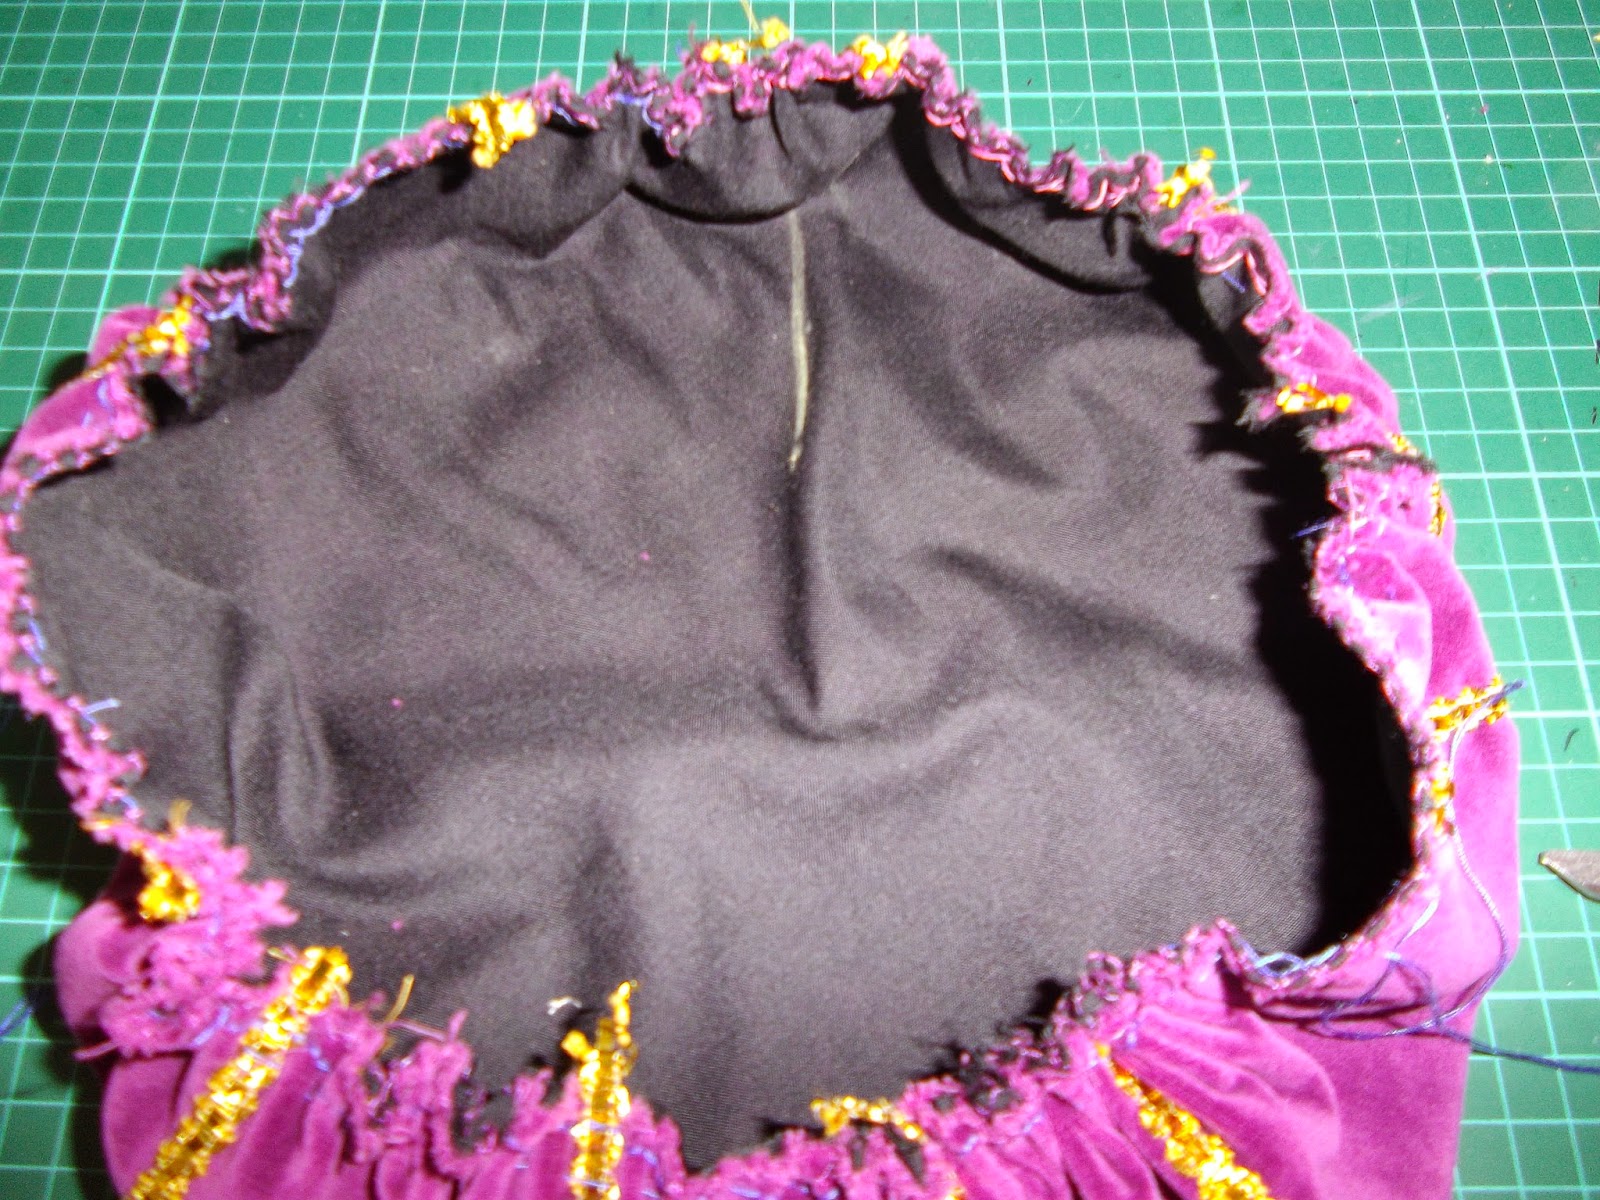
This image gives an idea of how much the fabric gathers in when the two sets of side threads are pulled. (The gathering threads are dark purple.)


Once the gathering stitches have been pulled in, I adjusted the gathers so that they were fairly evenly distributed around the hat. The yellow chalk line is the top of the hat.


Putting the tacked band into place over the edge of the 'bag' part of the caul. I tucked the edges of the bag into the fold on the band, trying to make sure that the edge of the 'bag' (the gathered part) was touching the fold in the band. It did move around quite a bit, so there are a few places where it has slipped back.


Pinning the outside of the tacked band on. I sewed the outside down first to minimise moving and slipping.

The next step was to sew down the inside of the band, but I thought the band edge looked a little plain.

I found some gilt thread in my stash and couched one line of it down around the edge of the band. I couched it down with a doubled piece of yellow sewing thread (probably cotton or poly-cotton).

Next, I turned the hat inside out, and pinned the inside of  the band down. Then I hand sewed the inside piece down.


The band is slightly thick. I don't mind it like that, but I may reconsider my technique for the next one. I am thinking that I may omit the lining, reduce the seam allowance, or choose a less bulky fabric for the caul and/or band.


The finished caul on a stand.

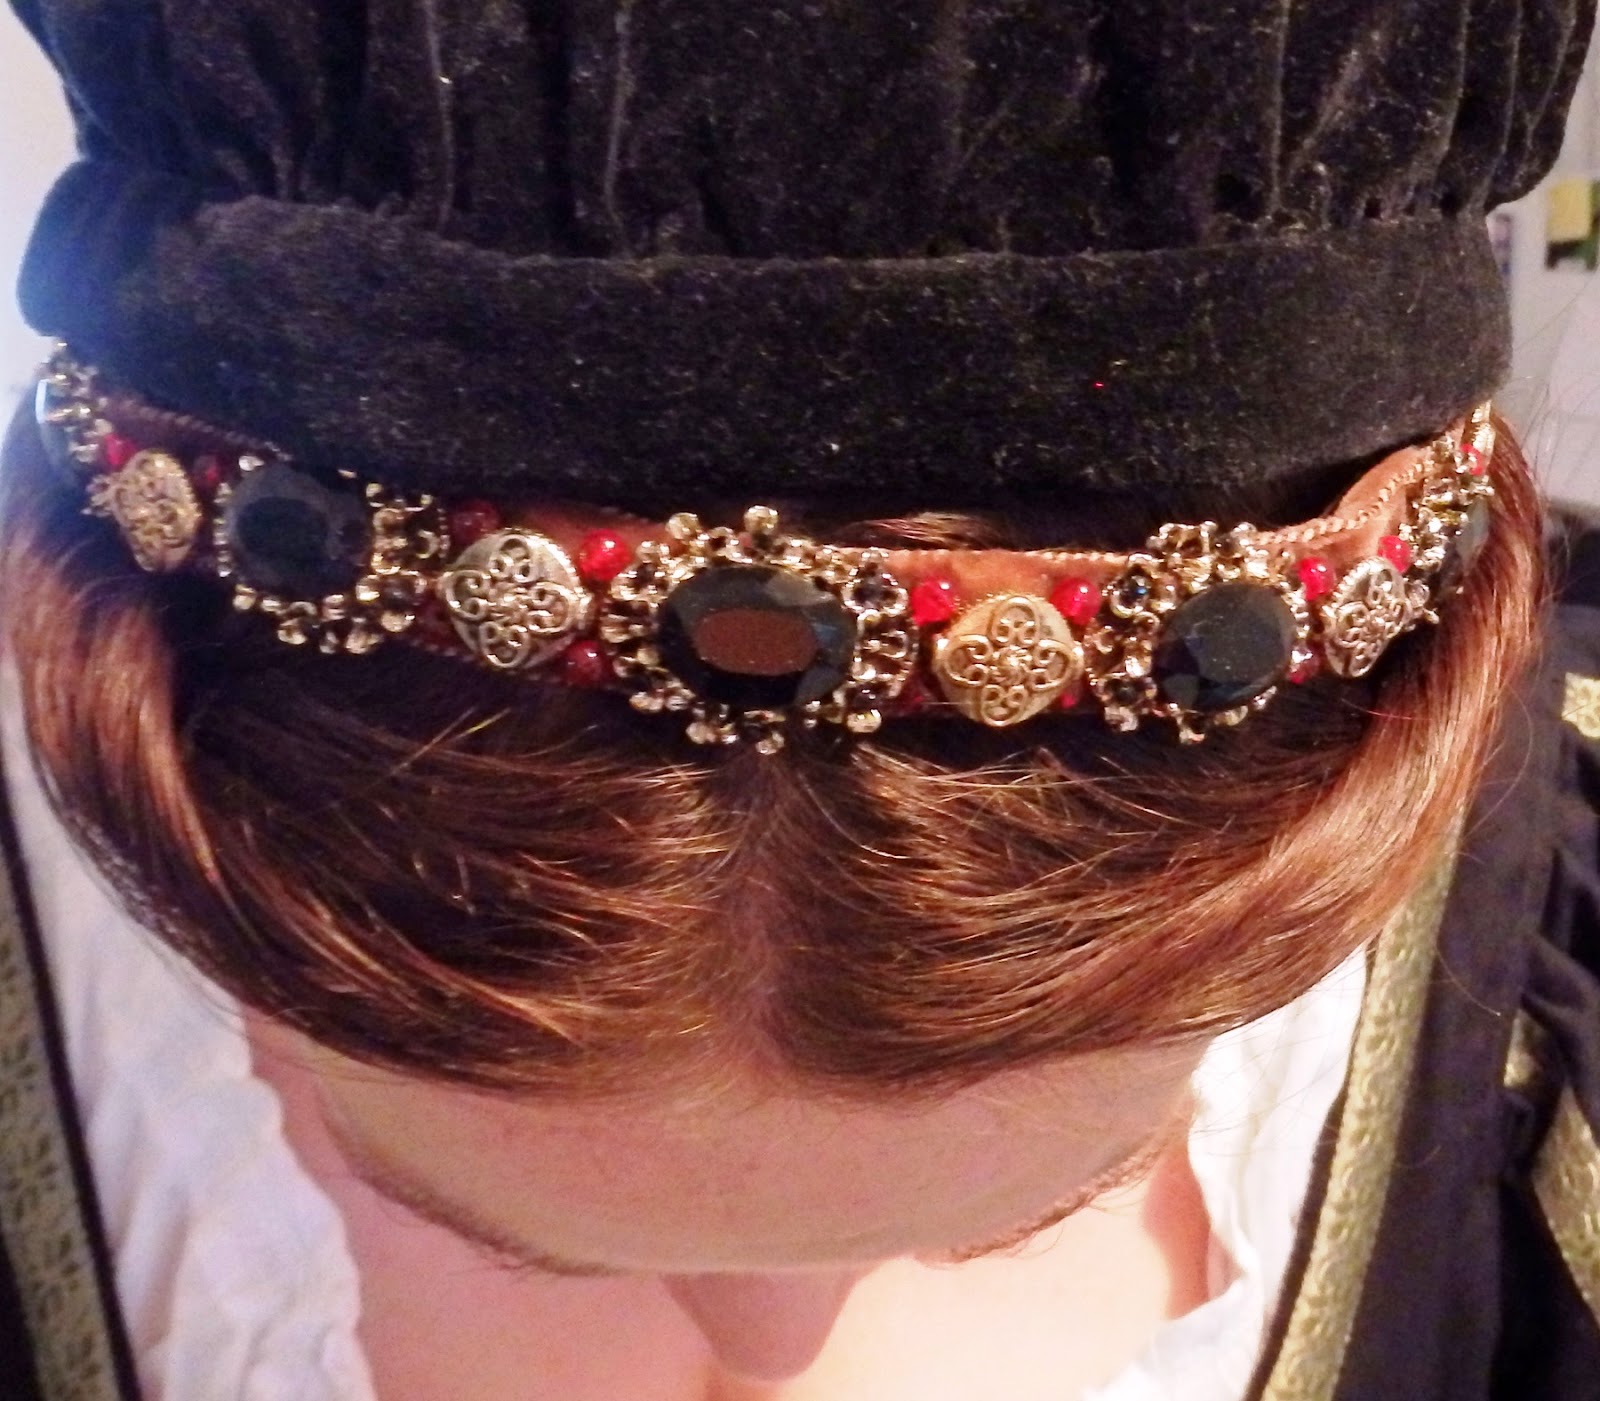
I usually sew in a metal comb to help hold the caul in place, but this time I have tried wig clips. We'll see how they go! I need a comb or a clip because I usually wear my cauls behind a jewelled billiment and twisted hairstyle (below). It doesn't sit way back on my head, but I like the security of knowing that the clips or comb will stop it coming off.


I am pleased with how this project has turned out. I feel a little gaudy in such a bright hat, but I think it is pretty, and I am very relieved that it actually fits. This time, I kept notes so that I don't have to guess the next time I go to make a new caul.