Thursday, September 30, 2021

Heraldic Device Banner - Device with Snails

I finished another banner device in September. I used felt again; it is so durable and doesn't fray, and I like working with it.

The motifs were sewn on first with tiny stitches. I went around the big motif with couched gilt cord and also added the same style of couching under the green panel at the top.


I used DMC cotton in split stitch to do the detail on the snails. I considered googly eyes, but added eyes on stalks in white cotton done in split stitch. I outlined the snails with black DMC floss, also in split stitch.


I added a white piece of felt on the back to cover the stitches and make the panel stronger.


These banners are a baronial project for my local SCA group. They have been created by members of the Barony to record the registration of heraldic devices by the populace. They look nice when put up at events, remind us of past members and old friends, encourage newer members to get their heraldry registered, and can be part of a fun 'guess the person' game.
Devices are listed under the devices of the Baron and Baroness in power at the time of registration. The blue panels are the oldest, followed by red and then white.


Tuesday, September 21, 2021

Necklace with Agate Pendant and Beads

 A nice, quick project that I finished recently for a friend. I found this agate pendant at the thrift shop and strung it with some glass and natural gemstone beads on tiger wire.


Wednesday, September 15, 2021

Italian-style Jerkin (Wearable Toile)

 A project that I worked on over a few months earlier in the year was making a pattern from an existing garment and making up a wearable toile. A friend wanted more of a style of loose jerkin that he likes, and I tried to puzzle it out. I lack drafting skills, so I was pleased to end up with something that he was happy to wear. I made two sleeve patterns and a pair of sleeves as well, so that removable sleeves can be added in a loose or more fitted style.


The jerkin being worn without the sleeves

I made the final toile up in a nice pale gold fabric that was originally a quilt cover. The lining is made from the lining of the quilt cover. The sleeves are made from the decorative panel that goes over the foot of the bed, and the jerkin is trimmed with commercially produced gimp braid.

Tuesday, September 7, 2021

Heraldic Device Banner - Device with Goblets

Here is another project that I forgot to post in July; a banner device for our local device banner. It is predominantly made of felt (because felt can stand up to the stresses of being rolled up and transported and doesn't crinkle up).

All the design elements are cut out individually and sew on, and then the trims can be applied. The goblets are surrounded with couched cords and commercially made trim is used for edging the goblets and the central area.

The completed device then gets a backing piece of felt sewn on to make it just a little thicker and more sturdy. Then it gets sewn to the banner which shows the registered heraldic devices of the local populace listed in chronological order of registration.


Friday, August 27, 2021

Lacing Rings on an Underkirtle

 A quick project I did to help out a friend a couple of months ago: adding lacing rings to an underkirtle.

The rings are mostly hidden behind the hemmed front flap of the garment to make the lacing come together closely and leave a very small gap. I offset the rings to allow for spiral style lacing. 


Tuesday, July 27, 2021

A Koala Visitor


Look who's back! It is winter here, and the roaring of koalas and possums fills the air at night.

Wednesday, July 21, 2021

Small Embroidered Pocket

Here is something that I have  been working on, on and off, for a while. It is a small pocket which can be used as part of my group's static A&S display for demos.

The main stitches are chain, split, double running and seeding stitch. All the motifs are taken from sixteenth century modelbuchs.

The next step is to make it up. I have some red bias binding that might be a nice decorative highlight.


Thursday, July 8, 2021

Trading Cards - Red Dragon with Shoes

 Most of my scribing time over the last couple of years has been taken up with paperwork and communication. I've found it hard to get back into the swing of award scrolls and have certainly noticed a drop in skills and confidence.

One way that I am trying to combat this is by working on small projects which are 'just for fun'.

Here is a trading card that I completed. The dragon's little shoes tickled my fancy!

 The card is worked in Winsor and Newton Gouache.

I've had a lot of trouble identifying which manuscript this fellow is from, so please comment below if you know! Thanks.


Thursday, July 1, 2021

Another Book To Hide A Phone In

Recently I was lucky enough to have a friend gift me their old phone - I'm excited thinking about the better quality photos I can take. It did mean, though, that I needed a new book to hide it in for SCA events.

One of the hardest parts about making the book cover is finding a book that you are willing to cut up. It also needsto have no visible title, author name etc.

You might remember the last one of these I made: http://broidermebethan.blogspot.com/2019/09/a-book-to-hide-phone-in.html

I changed the process this time, based on what I learned last time. I added the metal corners to the book first, and used a piece of felt under the prongs of the pliers to reduce damage to the metal. I used a craft knife to cut each page individually.

I also changed how I glued the pages. Initially I tried a glue stick, but it was not strong enough so I changed to white craft clue. I watered it down more than last time I made one of these, and used a bit less so that the book didn't get quite so saturated with glue. I used E6000 glue to stick the phone cover into the hole.

I used gold gouache to paint the edges of the pages gold.

I did remove several pages completely because the built up glue adds thickness. Sticking the pages down also distorts the pages as well. It is important to start from the back when gluing the pages down, and to pull them quite tight until they stick. I left the front pages free. 

I cut the hole at the back for the camera lens a bit larger than the holes because I found with the last book that the overhang caused some shadowing on my pictures.

Using less glue meant that the book dried much faster than the last time. I was able to use the book to hide my phone at the last event, and it worked very well.


Saturday, June 26, 2021

Birds and Flowers Green Embroidered Caul

I recently finished this long term project. I have worked on this and a couple of other pieces every year at one of our Medieval Faire demos. I was trying to work out how long I have been working on them - probably one day a year for ten years! It is nice to have it finally finished. It is a record of how my skills have developed over that time.

The embroidery is worked in DMC embroidery floss on linen ground fabric, and the spangles are metal.


The fabric circle is gathered into a band which is decorated with green ribbon, I have added a metal comb inside the band to help keep the caul in place, and a couple of little buttonhole rings to slide bobby pins through.

This link to a previous post gives more information on the construction process: http://broidermebethan.blogspot.com/2014/05/purple-velvet-caul.html

Monday, June 14, 2021

Heraldic Embroidered Napkins

I made these napkins some time ago as a gift for a friend. They are embroidered with her heraldic animal in split stitch. There is a line of running stitch around the edge of each napkin. I find cloth napkins to be really useful, especially for covering plates of food at events.


Wednesday, June 9, 2021

Embroidered Camicia Sleeves

I recently completed the sleeve panels for a new chemise. The motifs are worked mainly in stem stitch with  some double running stitch for some of the internal details.

The inspiration page from Shorleyker's 'A Sholehouse for the Needle'

The panels with the designs marked out in Frixion marker.

The completed sleeve panels.

I'm currently adding a motif to the front and back panels, and then will do the sleeve gussets.
Then I plan to hem each panel by hand and assemble them with a decorative faggoting stitch.


Thursday, June 3, 2021

Gold Tie-On Sleeves

 I've been working on that perennial project again - the Sleeve Pile.

I got this pair of gold tie-on sleeves completed last month.

I ordered a silk fabric from a vendor on Etsy and got this fabric instead. It arrived with grease stains on it. I managed to launder it but never did get the silk I ordered. Still, I think this mystery fabric is pretty.


Thursday, May 27, 2021

Bonnet and Coif


 Some pictures of the new bonnet with one of my embroidered coifs. (My actual head is a lot bigger than this foam hat form, so the bonnet and coif sit better.)


Monday, May 24, 2021

Tudor Brimless Bonnet and Sleeves

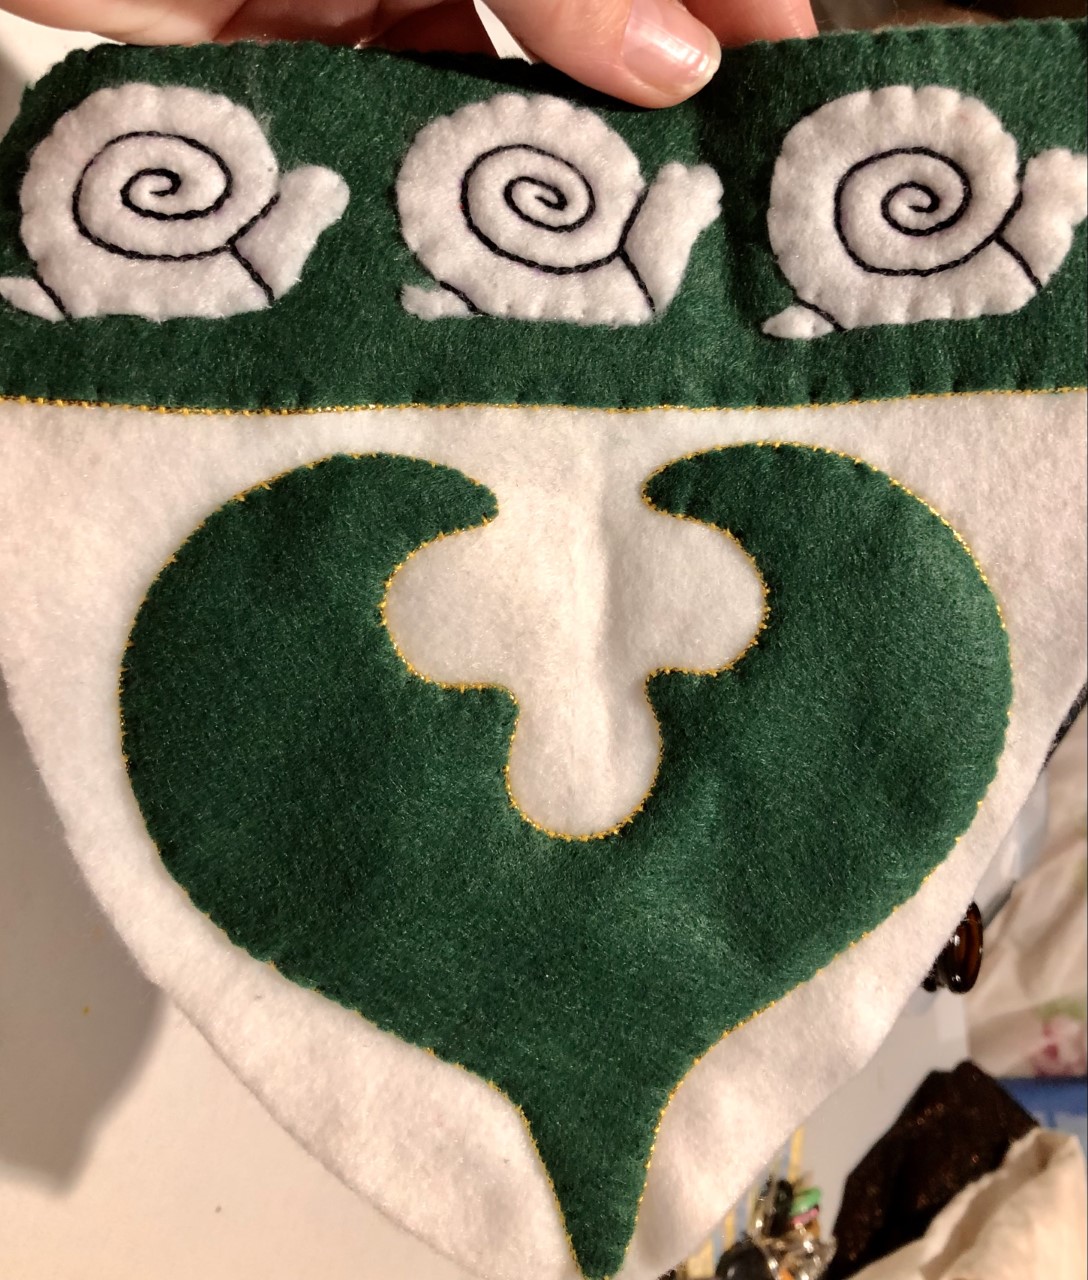
 I have been feeling more motivated and enthused to create lately. With the SCA in many parts of Australia starting to get back to normal, there is a lot to be done. Last month I plodded along doing little jobs and this month I am starting to get some things finished.


Here is a set of Tudor/Elizabethan sleeves and bonnet that I made from a mystery wool blend that I got from an op shop. It is the first  time that I have made unlined sleeves. If I was planning on making unlined sleeves, I would probably enclose the seam that runs down the back of the arm. In this case, the wool is reasonably thick and I was concerned that an enclosed seam would be too bulky. Instead I whipped the seam edges down after the seam was sewn. The hems are all hand sewn. 

Before sewing the sleeve, I cut slashes with a very sharp pair of embroidery scissors. I marked the slashes out with a Frixion marker on one sleeve, cut them, and then turned the sleeve over to use as a template for cutting the second sleeve. I put a couple of stitches top and bottom on a few of the slashes near the top of the sleeve where I thought the pressure of being pinned to the bodice armscye might put too much strain and cause the split to shred or pull through. I might have to end up going around each slash with stitching to stop them fraying; only time will tell. 

I very much liked using pins to put the sleeves on rather than faffing around with eyelets (making eyelets is a job I dislike). I used florist pins for lack of a better resource, and I would like to find some more suitable and period appropriate pins.

The brimless bonnet (or 'barret') was made from the leftover wool. I have a decorative cooking mould that looked to be around the right size for my head. I traced around it onto sandwich paper and added 1.5 cm seam allowance. I cut out two pieces from  that pattern and sewed them together on the machine. Then I carefully clipped the curves. 

I made a guess as to the size hole I would need for my head and cut that out carefully after marking it evenly with  chalk. (It needed a bit more after the first try on, so I marked another line slightly outside the cut line and took a little more off.) Another try on revealed that it looked pretty right, so I turned the hem of the 'hole' under and sewed it by hand. Then I turned the bonnet right side out and ran a blunt knitting needle along the inside of the seam a few times to make it sit nicely.

This is an extremely easy hat to make, and it looks great over a coif. I love fast projects and I like the look of this style of hat.

Here are some examples of similar types of bonnets in sixteenth century portraiture:

'Mary, Duchess of Richmond and Somerset', c1532-1533

Mary FitzRoy, Duchess of Richmond and Somerset (1519-1557), formerly Lady Mary Howard, was the only daughter-in-law of King Henry VIII of England, being the wife of his only acknowledged illegitimate son, Henry FitzRoy, 1st Duke of Richmond and Somerset. The drawing is part of the Royal Collection Trust, Windsor Castle. From The Drawings of Holbein at Windsor Castle by K. T. Parker. [The Phaidon Press Ltd, Oxford & London, 1945]. Artist Hans Holbein the Younger. (Photo by Print Collector/Getty Images). Image and background information from: https://www.gettyimages.com.au/detail/news-photo/mary-duchess-of-richmond-and-somerset-c1532-1533-mary-news-photo/624177878

Portrait Of A Woman In A White Coif by Hans Holbein  (1497/1498–1543) c 1532-34. Image from: https://commons.wikimedia.org/wiki/File:Woman_in_a_White_Coif.jpg


A portrait of Catherine Parr (1512–1548), sixth and last wife of Henry VIII of England by an unknown artist. In this portrait of Catherine Parr, it looks like she might be wearing a brimless bonnet over her coif. My bonnet is un-decorated, to go with a more middle-class ensemble, but this portrait shows potential decoration ideas for future bonnets. Image from: https://en.wikipedia.org/wiki/Catherine_Parr#/media/File:Catherine_Parr_from_NPG.jpg


Portrait of an Englishwoman c. 1532 by Hans Holbein the Younger. Image from: https://commons.wikimedia.org/wiki/File:Hansholbeintheyounger12.jpg