Showing posts with label heraldic banner. Show all posts

Tuesday, September 7, 2021

Heraldic Device Banner - Device with Goblets

Here is another project that I forgot to post in July; a banner device for our local device banner. It is predominantly made of felt (because felt can stand up to the stresses of being rolled up and transported and doesn't crinkle up).

All the design elements are cut out individually and sew on, and then the trims can be applied. The goblets are surrounded with couched cords and commercially made trim is used for edging the goblets and the central area.

The completed device then gets a backing piece of felt sewn on to make it just a little thicker and more sturdy. Then it gets sewn to the banner which shows the registered heraldic devices of the local populace listed in chronological order of registration.


Friday, March 5, 2021

Embroidered Heraldic Banner Device

 A new family member has been keeping me very busy the last several weeks, and bringing that special level of insanity that only a puppy can add! Completed projects seem to be few and far between, and there is so much cleaning to be done. But I did manage to get a banner device done for my local device banner.

The device banner project is a group project which records local SCA heraldic registrations in chronological order, with heraldic devices sewn onto a series of banners.

The banners look great, record the history of our group, and enable a fun guessing game at events. We have six banners so far, with registrations sewn under the devices of the Baron and Baroness of the time.

                                            Banners 2, 3 and 4 on display at an event pre-Covid.

One of the locals didn't have time to complete their device so I offered to help them out. The device is made of felt with applique and embroidery.


Split stitch was the main stitch used, with a little bit of whip stitch and couching. Crochet cotton and DMC embroidery floss were used also.


Monday, August 24, 2020

Applique Heraldic Banner for Indoor Use

I made this needle-turn applique banner last month for a friend's birthday:

This is an indoor banner. The base fabric is cotton and the ermines are made of gold felt surrounded by couched gold thread. The red and gold elements were sewn on by hand. The fringe trim is commercially produced.

Wednesday, November 13, 2019

Indoor Heraldic Banner

As well as a silk banner, I made an indoor heraldic banner for  my friend.

I used velveteen as the base material and cotton broadcloth for the backing. I usually pre-rinse my fabric in hot water and dry and iron it before starting a project.

I enlarged the owl shapes and cut them out of felt (which I also used for the band across the top). I like using wool felt because it is easily available and doesn't fray.

I whip stitched the felt down and then embroidered over the edges. I couched a piece of gold cord across the edge of the band across the top.


 I embroidered on the details of the owls.

 I gave the owls multi-layered felt eyes to give a sense of depth.


Once all the details were done, I put the backing fabric and the embroidered velveteen panel face to face and machine sewed around most of the edges. I left a small section un-sewn. I clipped the corners to reduce bulk and then turned the banner right side out, pulling it through the un-sewn section. This technique is called 'bagging out' and is useful for sewing banners. It is important to make sure that the inside seams are sitting nicely; I run a bone turner or blunt knitting needle along the seams on the inside.

The final steps involved hand-sewing the smalls section shut and then turning a section of the top down and towards the back to make a hanging rod pocket. I whipped the section down, making sure my stitches did not show through on the front of the banner.

Finally, I sewed a section of creamy gold onto the bottom of the banner to finish it off.

Good starting points for researching medieval banners include:
https://en.wikipedia.org/wiki/Heraldic_flag
http://www.larsdatter.com/banners.htm
https://www.southerntailors.com/blog/the-origin-and-evolution-of-the-gonfalon/
https://www.theheraldrysociety.com/articles/heraldry-in-italy-during-the-middle-ages-and-renaissance/
https://www.southerntailors.com/blog/the-origin-and-evolution-of-the-gonfalon/

Monday, October 28, 2019

Painted silk banner

I recently tried my hand at silk banner painting for the first time. I had attended a class on silk banner painting in 2018 which was run by Sir Eva von Danzig and I used the notes from that class as my guide. The aim was to create a heraldic field banner for a friend.

I used Settasilk silk paint and gutta and a fine silk background fabric.
The first step was to draw up my design. I drew it on tracing paper and went over it with a felt tip pen.
I traced the design onto the silk using lead pencil.
The next step was to stretch the silk out and attach safety pins around the edges. I used rubber bands (looped around the safety pins) to attach the silk to the frame. I made the frame out of PVC tubing. Once it was evenly stretched with good tension, I used black silk gutta to draw the outlines. I was so nervous (as this was for a friend) that my hands were really shaking and so my lines were quite wobbly.
Once the gutta was dry, I added the silk paint. There were a couple of areas where the paint ran past the gutta lines. I did two coats of blue and two coats of yellow, with some orange highlights, letting each coat dry before adding the second.
Then I let the banner air dry thoroughly.
I left it on the frame in a warm place to completely dry.
Once the paint was fully dry, I ironed the banner under an ironing cloth with a dry iron following the manufacturer's instructions.
I turned the edges over twice to form a small hem and pinned it into place. It was whip stitched down.
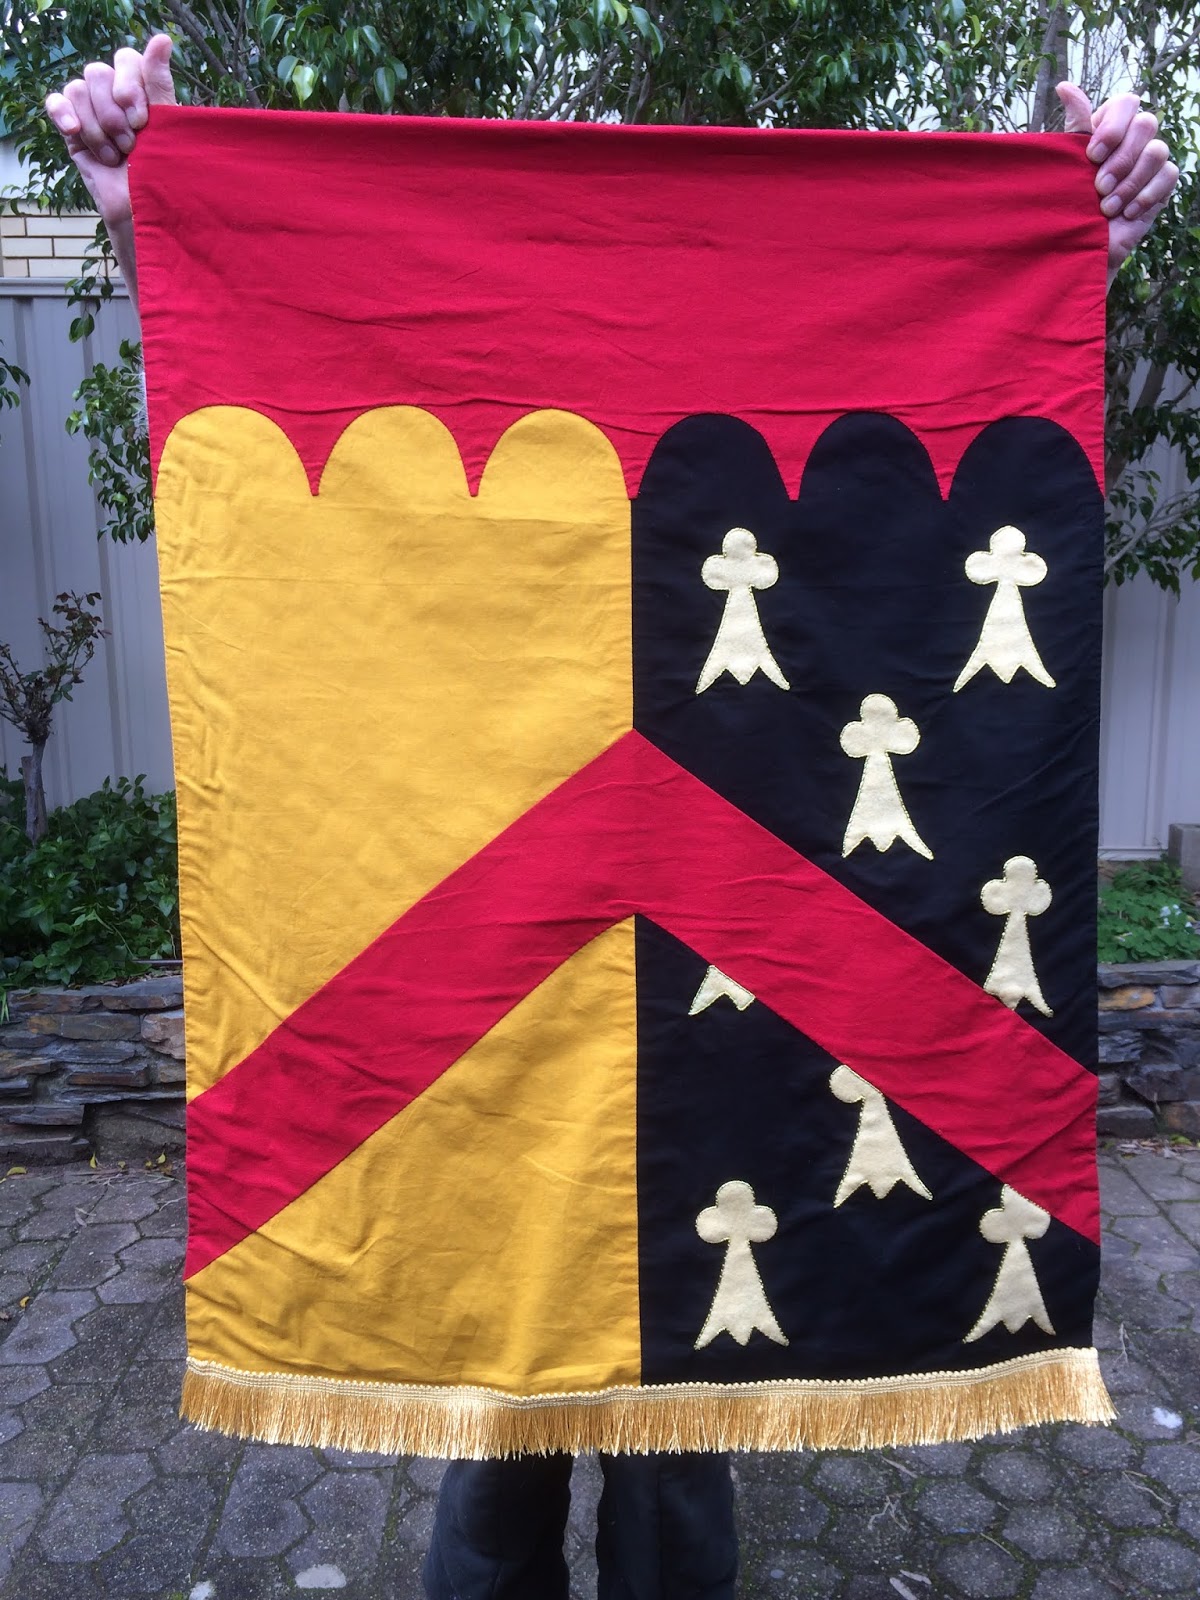
Checking to see how my own banner was constructed (as it was made for me by a friend,) I realised that the delicate silk has worn away at the tip of the banner. This made me decide to add a cotton broadcloth pole sleeve rather than use the silk fabric to hold the pole. Hopefully, it will make the new banner last longer. I also need to make a sleeve to put on my own banner to extend it's life.
 Essential tools
 
Pinning the sleeve onto the edge of the banner.
I machine sewed the banner sleeve onto the banner.
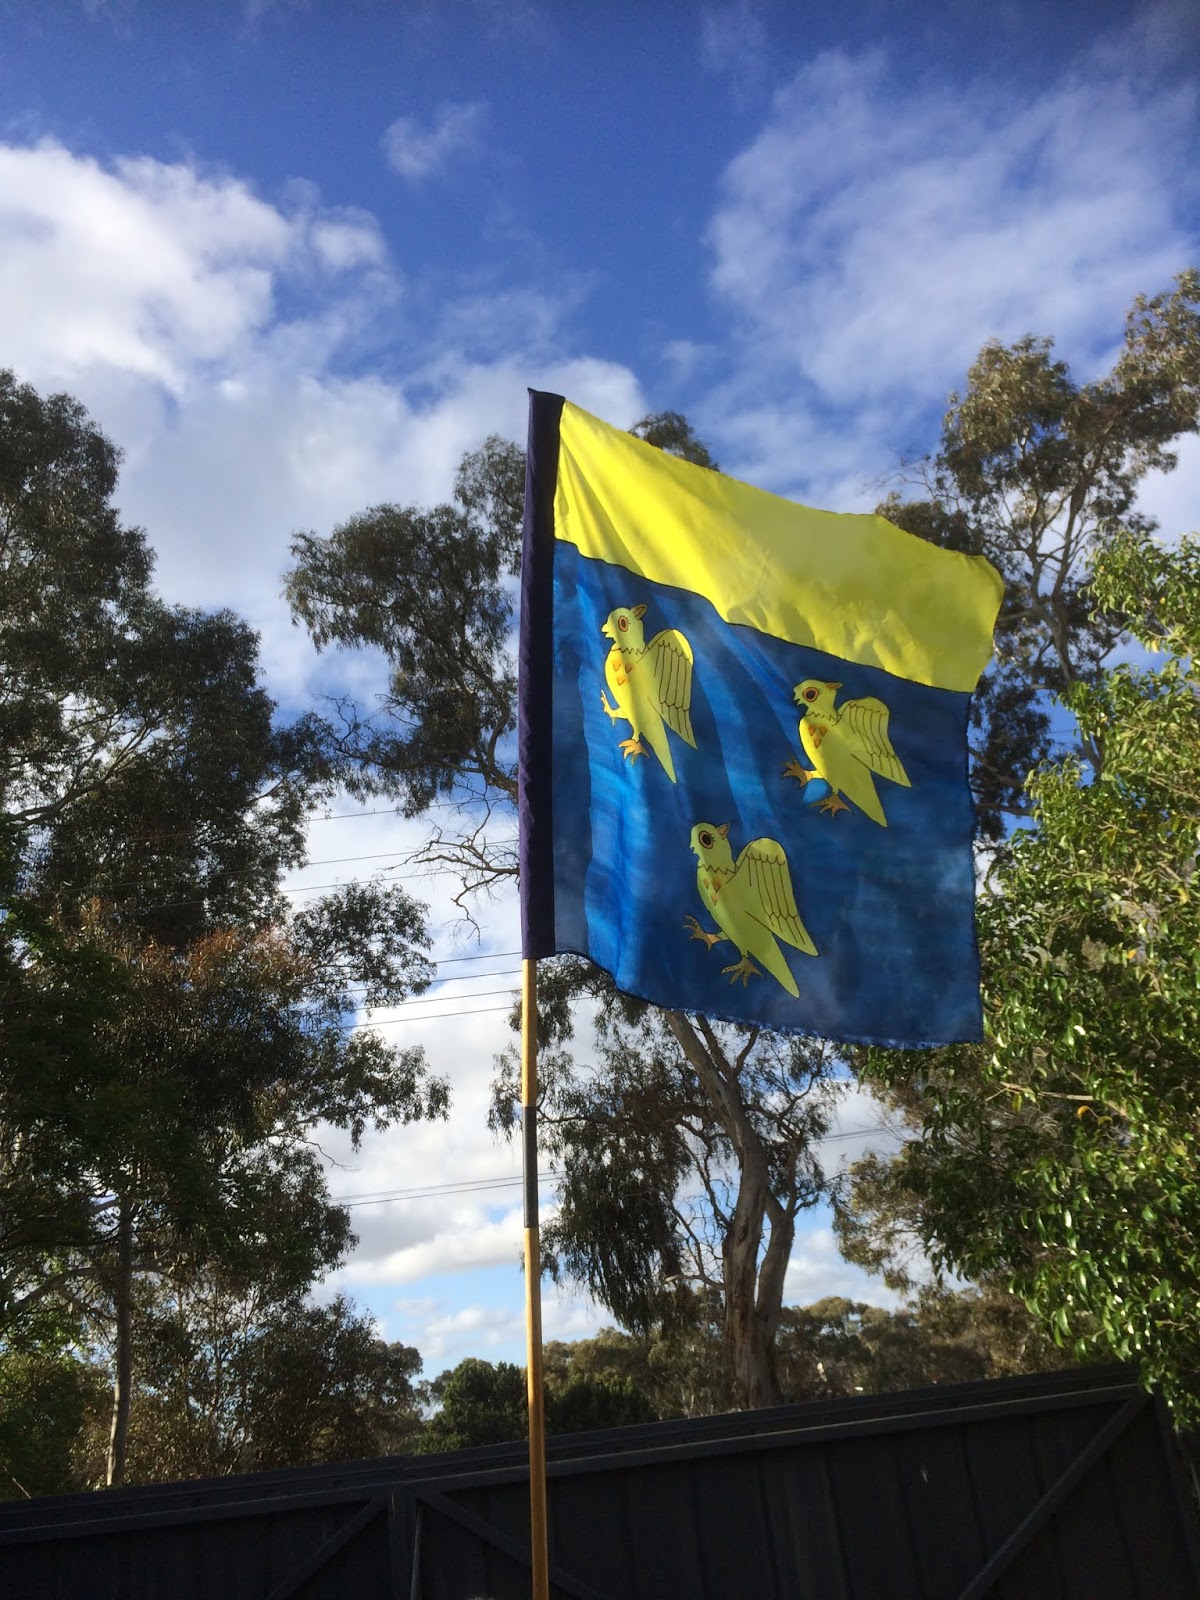
The finished banner flying.
I followed the instructions given by the manufacturers of Settasilk silk paint. If I did the project over, I would wash my silk first (called "scouring") and iron it. I also would use thicker gutta lines to reduce the chance of paint runs. I might try spraying the silk with a mixture of water and rubbing alcohol to slow down drying time and reduce the chance of lines in the background. And I would work out a way -somehow- to stop my hands from shaking.
This project was certainly a learning experience. Even though I was not very happy with my result, I learned a lot. I have a new and greater respect and admiration for people who make beautiful silk banners on a regular basis- the process was more challenging than I thought it would be.