Showing posts with label SCA banner. Show all posts

Thursday, June 6, 2024

Two New Banners for Baronial Device Banner Project

A relatively recent project that I completed (and forgot to post about) was the creation of two new banners for my Barony's device banner project.

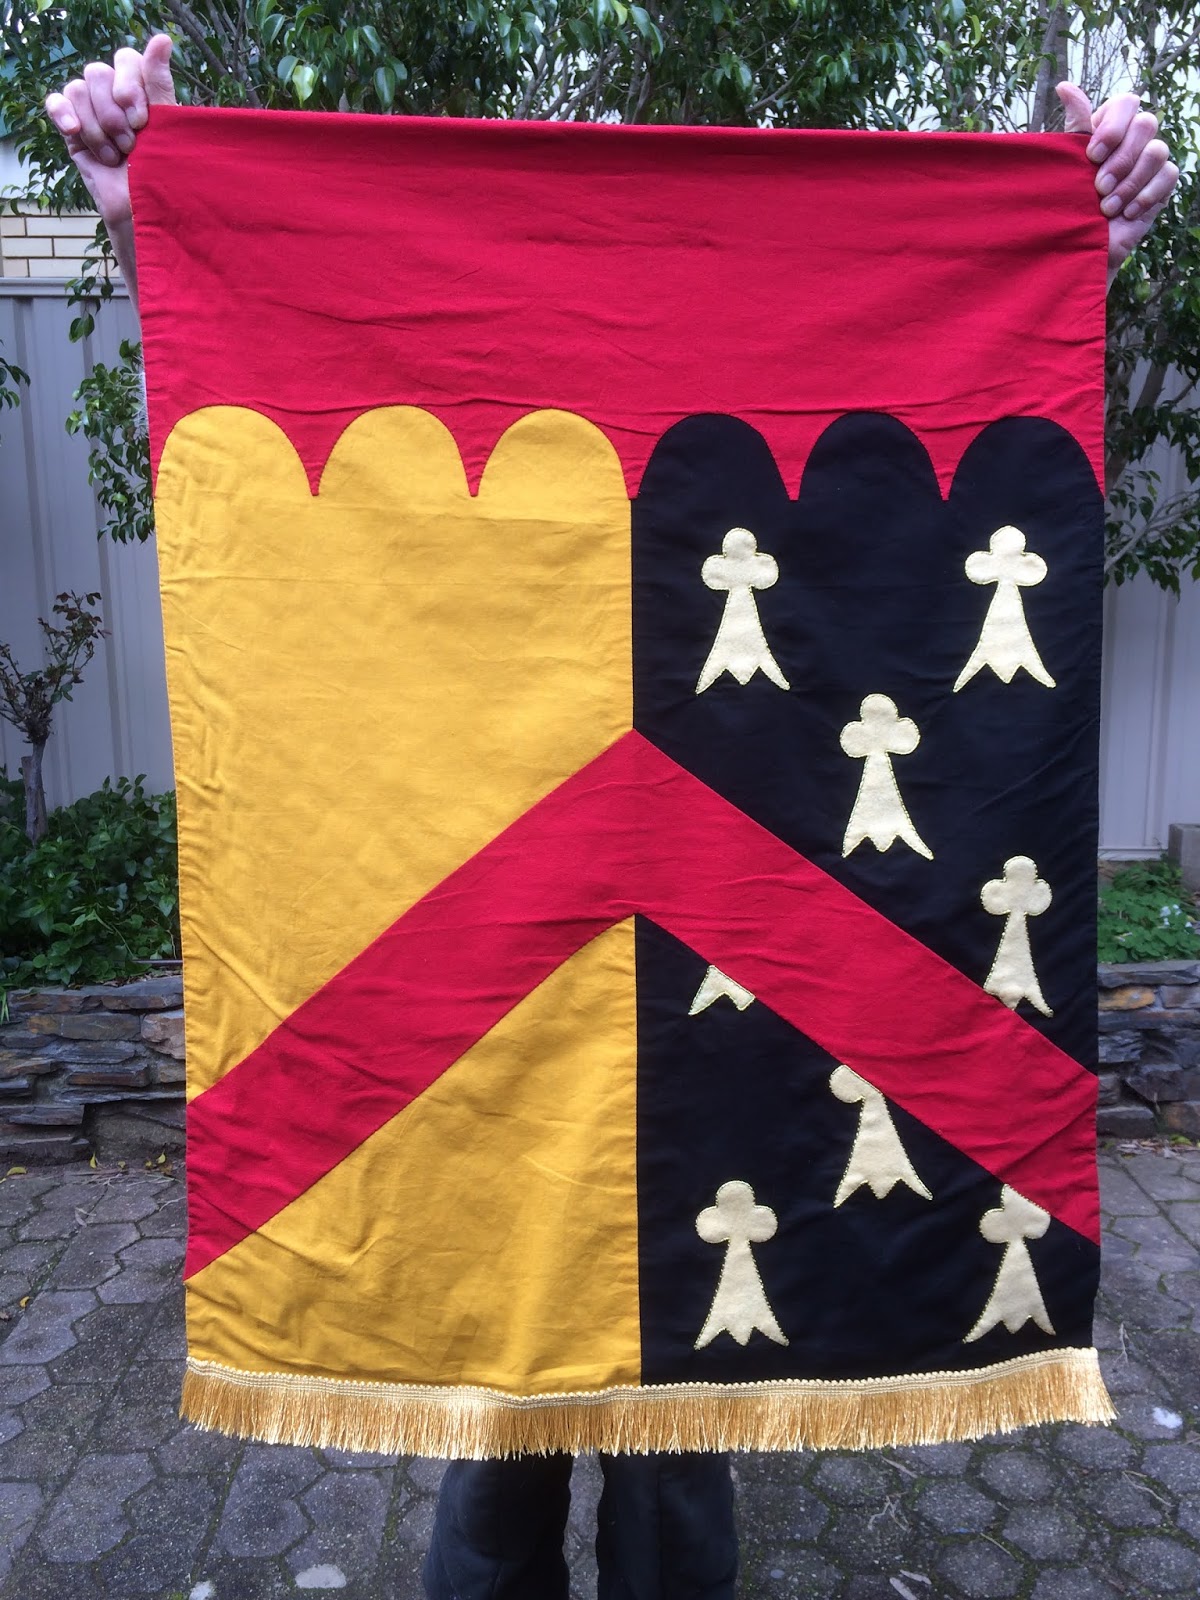
My Barony has a series of banners in Baronial colours that record the registered heraldry of the populace. It is a great chronological record of our members, and the banners are a really striking decoration at events.

Some of the banners at an event in 2017 (I think). There are two junior navy, two red, two white and now two navy banners.

I got involved in this project when I was quite new to the SCA and have made many of the devices over the years for people who did not have the skills or time.

In the last several years I have been responsible for managing the banner project, and we recently ran out of room on banner six. I created two new blank banners using almost ten metres of navy cotton fabric and cotton lining. They were edged in red bias binding. I copied the previous style and previous construction technique of hand sewing the bias on with a combination of running stitch and back stitch. That was quite a lot of hand sewing! I didn't mind it though, because I find hand sewing quite soothing when there isn't a deadline looming.


Monday, August 24, 2020

Applique Heraldic Banner for Indoor Use

I made this needle-turn applique banner last month for a friend's birthday:

This is an indoor banner. The base fabric is cotton and the ermines are made of gold felt surrounded by couched gold thread. The red and gold elements were sewn on by hand. The fringe trim is commercially produced.

Wednesday, November 13, 2019

Indoor Heraldic Banner

As well as a silk banner, I made an indoor heraldic banner for  my friend.

I used velveteen as the base material and cotton broadcloth for the backing. I usually pre-rinse my fabric in hot water and dry and iron it before starting a project.

I enlarged the owl shapes and cut them out of felt (which I also used for the band across the top). I like using wool felt because it is easily available and doesn't fray.

I whip stitched the felt down and then embroidered over the edges. I couched a piece of gold cord across the edge of the band across the top.


 I embroidered on the details of the owls.

 I gave the owls multi-layered felt eyes to give a sense of depth.


Once all the details were done, I put the backing fabric and the embroidered velveteen panel face to face and machine sewed around most of the edges. I left a small section un-sewn. I clipped the corners to reduce bulk and then turned the banner right side out, pulling it through the un-sewn section. This technique is called 'bagging out' and is useful for sewing banners. It is important to make sure that the inside seams are sitting nicely; I run a bone turner or blunt knitting needle along the seams on the inside.

The final steps involved hand-sewing the smalls section shut and then turning a section of the top down and towards the back to make a hanging rod pocket. I whipped the section down, making sure my stitches did not show through on the front of the banner.

Finally, I sewed a section of creamy gold onto the bottom of the banner to finish it off.

Good starting points for researching medieval banners include:
https://en.wikipedia.org/wiki/Heraldic_flag
http://www.larsdatter.com/banners.htm
https://www.southerntailors.com/blog/the-origin-and-evolution-of-the-gonfalon/
https://www.theheraldrysociety.com/articles/heraldry-in-italy-during-the-middle-ages-and-renaissance/
https://www.southerntailors.com/blog/the-origin-and-evolution-of-the-gonfalon/