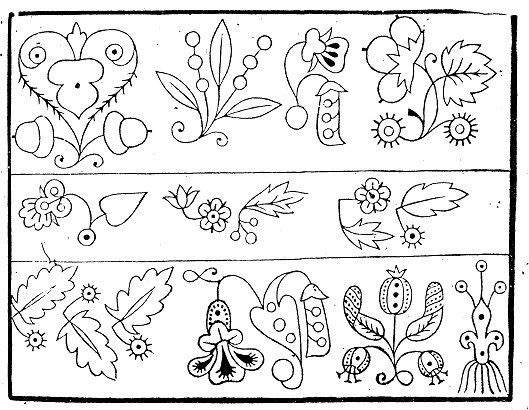
There are many extant coifs in museums and textile collections to give a guide to the shape of the pattern used for the piece. In terms of the embroidery design, I chose the traditional coiling foliage design which is so common in Elizabethan coifs. I prefer to design original patterns, but use motifs taken from extant pieces and Elizabethan portraits. On this project I used bird, flower and insect motifs.
Once I had sketched the design, I traced the pattern and design onto tracing paper with a permanent marker. Using tracing paper or greaseproof paper allows the light to shine through, and the permanent marker makes the design easier to see. The design can be traced using a light box or by taping the foundation fabric over the pattern on a large glass window or door.
Extant examples indicate that in period, ink was often used to mark designs onto white foundation fabric. I used 100% linen for this piece, and chose to use a modern alternative to ink: the Frixion pen. This type of pen irons away, is widely available where I live, comes in a range of colours and is available as a pen or marker. Very convenient for the modern embroiderer, and much more forgiving of unsteady hands than dip pen and ink.
The salamander design above, dating from around 1600, shows that ink was used to mark out embroidery designs (V&A Collection, T.88-1925, Arnold {QEWU} p. 272).
This piece is embroidered in blue cotton floss (DMC 824), in one or two strands (depending on the motif). Silk is a more authentic option and was used in period but cotton floss is affordable and easily available.
1A variety of period stitches were used on this piece, including stem stitch, double running stitch and speckling/seeding stitch. Combining different stitches on this project made the end result texturally more interesting, makes working the embroidery more interesting, and is also entirely period. I used hoop because it is more portable than a frame. I omitted spangles (even though they were a decorative feature on coifs) as they can sometimes be uncomfortable if worn under headwear such as a coronet.
Once the embroidery was complete, I ironed away any traces of the pen, and cut out the piece. I edged the coif panel with zigzag stitch for extra strength. I cut a linen lining and sewed the two panels together. This lining hides the spangle threads and protects the embroidery from hair oils and pins.
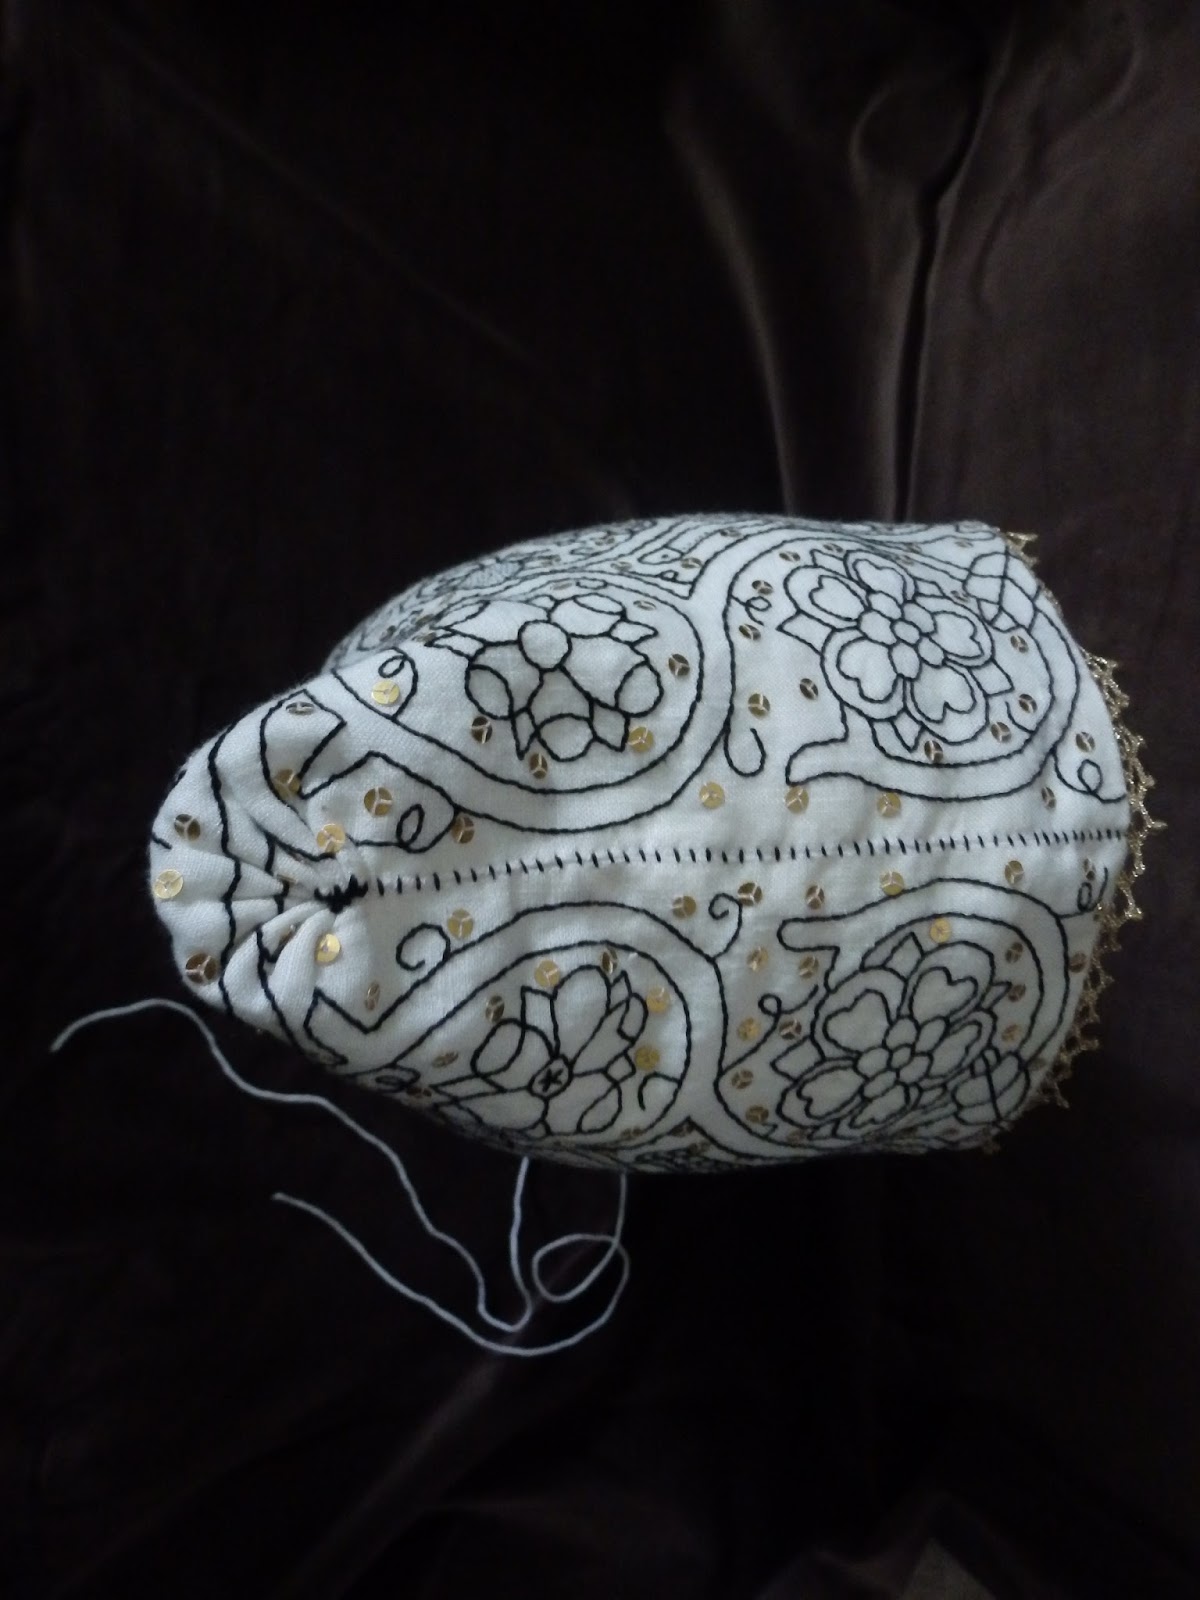
The cord channel was hand sewn as was the top seam which runs over the top of the head. Only the first two thirds of the seam was sewn up; the last third was gathered with very small stitches to produce tiny cartridge pleats. The pleats were drawn up to gather the back of the coif into a circle and the pleats were secured with buttonhole bars. This pleating rounds off the back of the coif and makes a space for the hair underneath.
I sewed a channel around the bottom of the coif and used commercially produced cord to gather it. I also sewed commercially produced lace around the front edge.
This image shows the way that the coif is gathered at the back of the head – from Plate 52B (Patterns Of Fashion 4).
Bibliography
Arnold, J. 1988, Queen Elizabeth’s Wardrobe Unlock’d, W S Maney and Son Ltd, London.
Arnold, J; Tiramani, J; and Levey, S. 2008, Patterns of Fashion 4, Pan Macmillan Ltd, London.
Compleat Anachronist 115: Wrought with flowers of Black Silk, Prudence Catesby
Compleat Anachronist 31: An introduction to Blackwork, Shoshonnah Jehanne ferch Emrys
Dress at the Court of King Henry VIII, Maria Hayward (2007, Maney Publishing, UK).
The Encyclopedia of Embroidery Techniques, Pauline Brown (1994, Simon and Schuster, Australia).
Geddes, E and McNeill, M. 1976, Blackwork Embroidery, Dover Publications, New York.
Mikhaila, N and Malcom-Davies, J. 2006, The Tudor Tailor, B T Batsford Ltd, London.
Orsi Landini, R and Niccoli, B. 2005, La Moda a Firenze 1540-1580, Pagliai Polistampa, Florence.
Synge, L. 1982, Antique Needlework, Blandford Press, New York.